Tag: drywall substitute

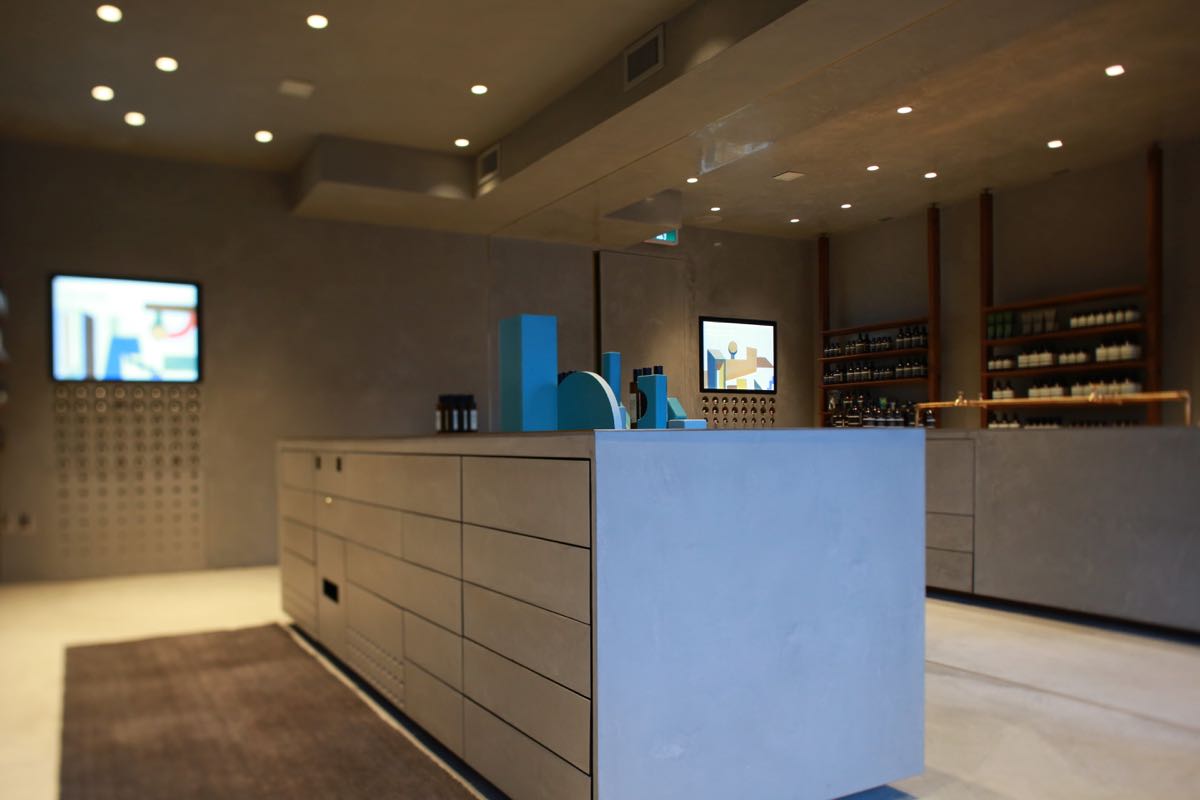
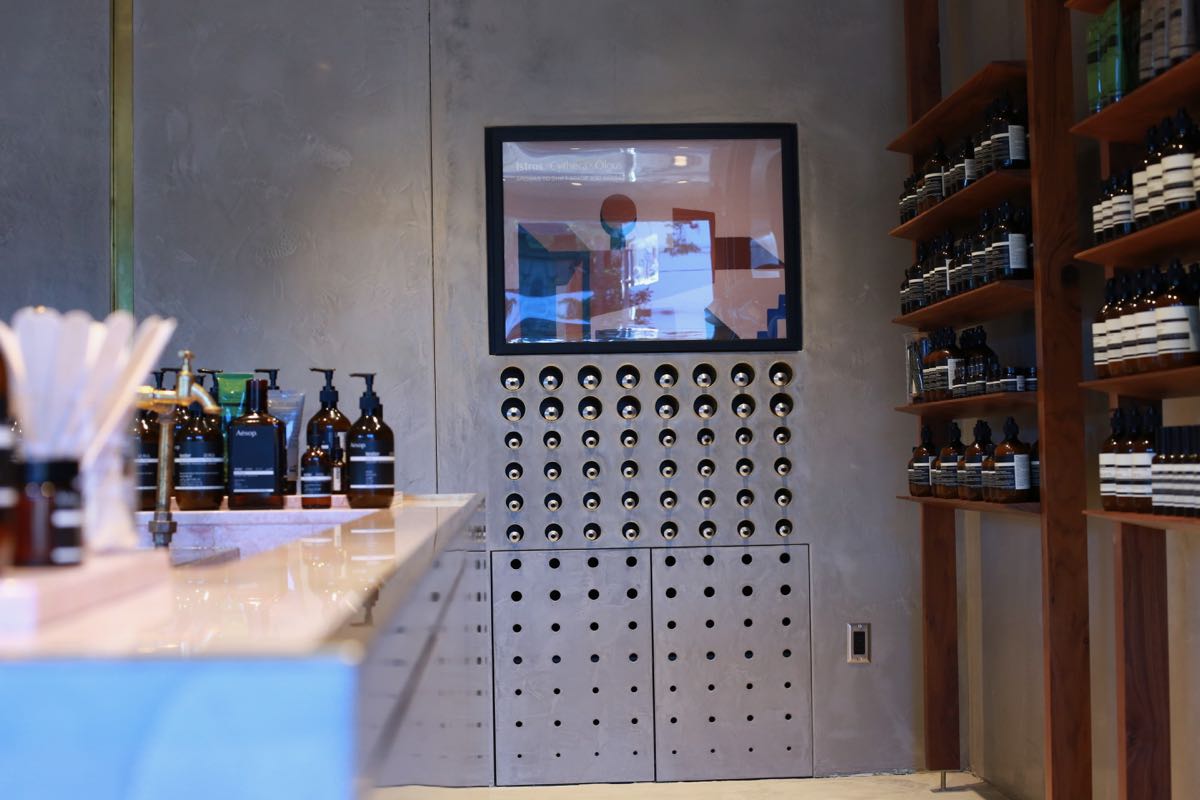
When I was contacted about The Exchange in 2013, I was immediately drawn to the difficulty of installing a polished plaster finish to such a vast area.

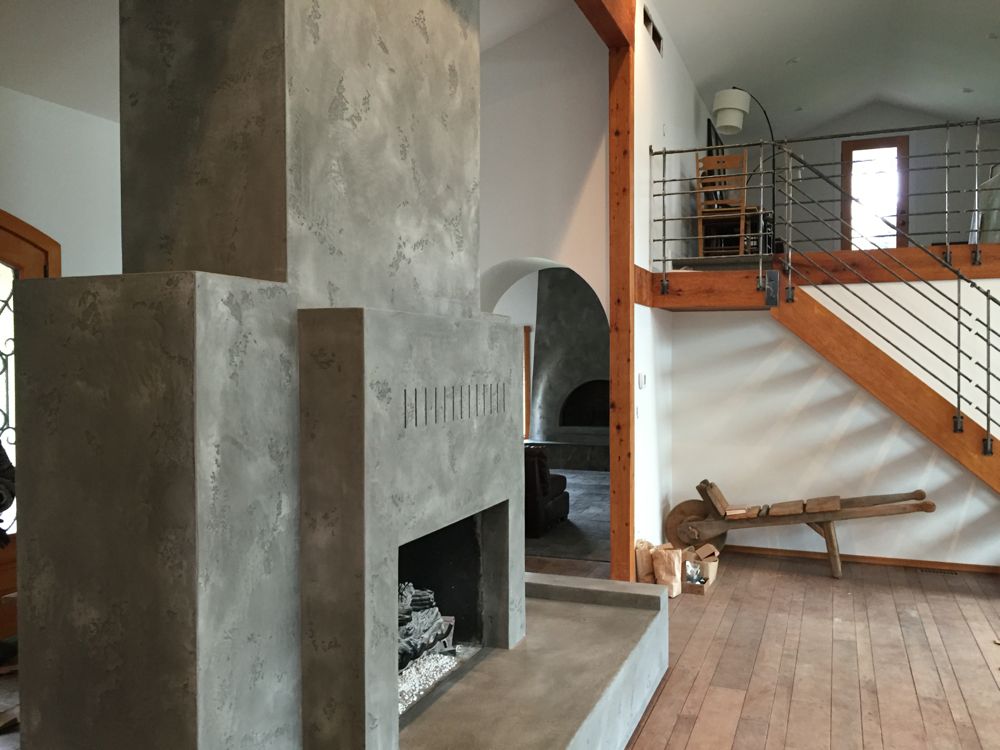
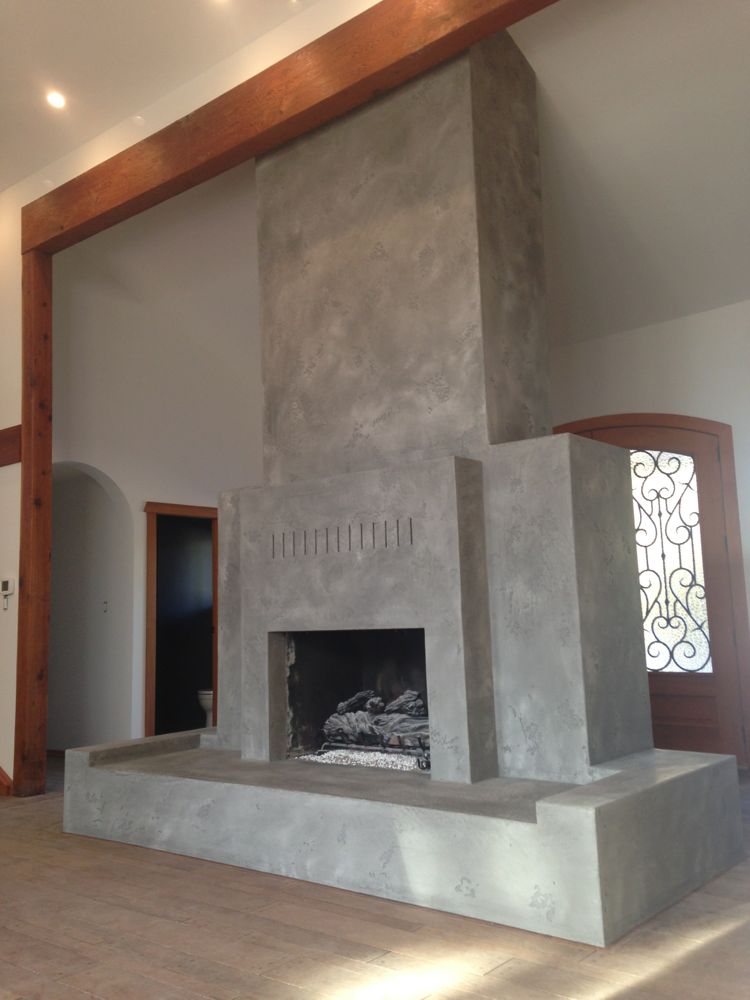
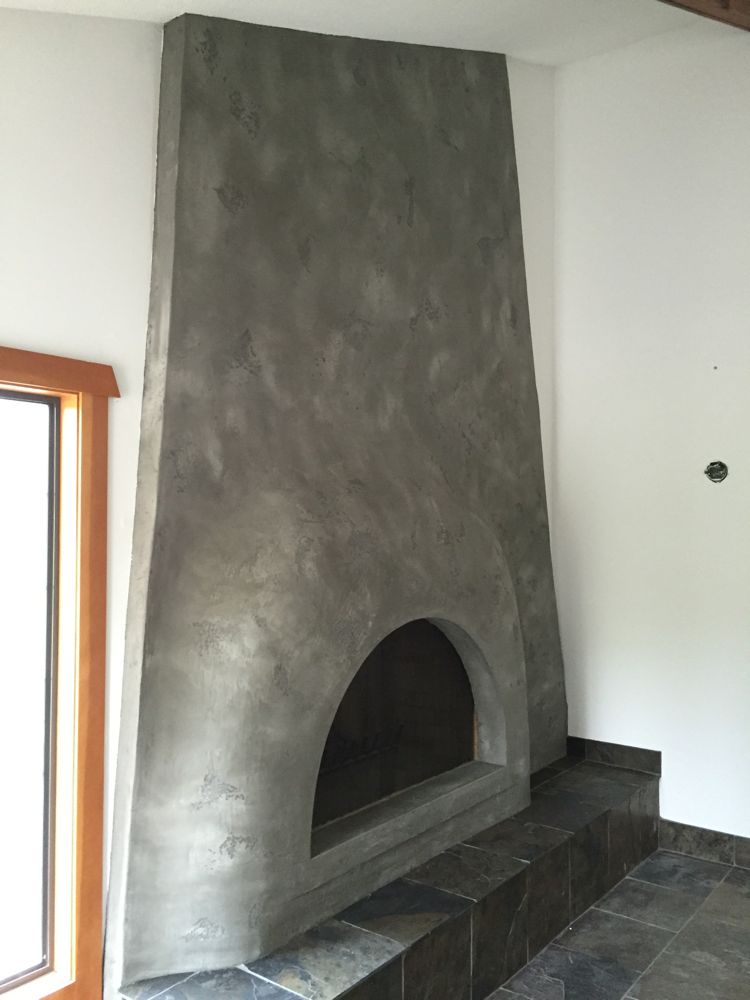
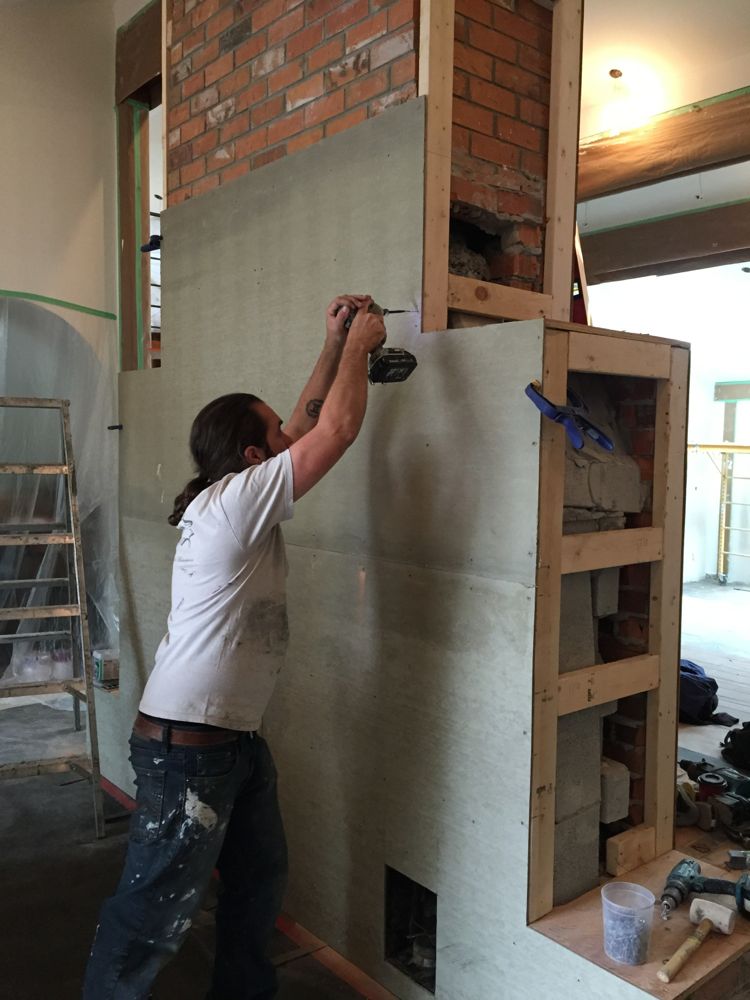
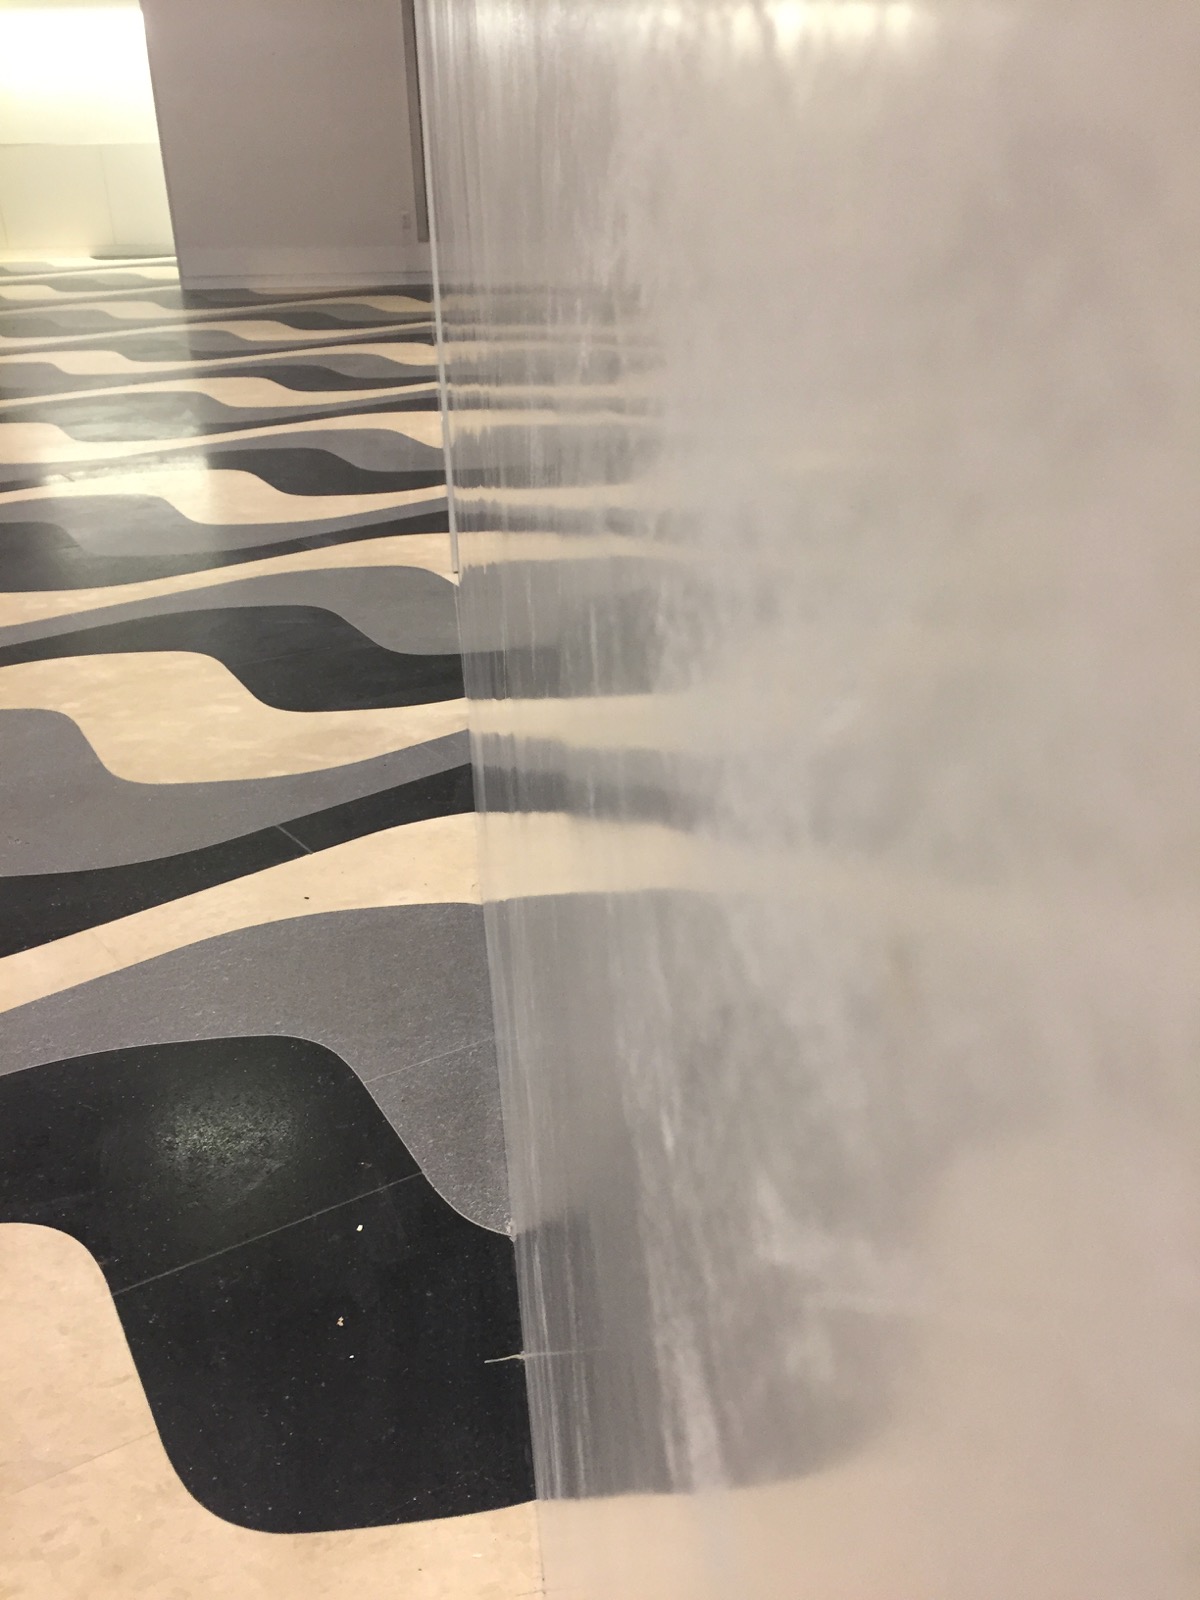
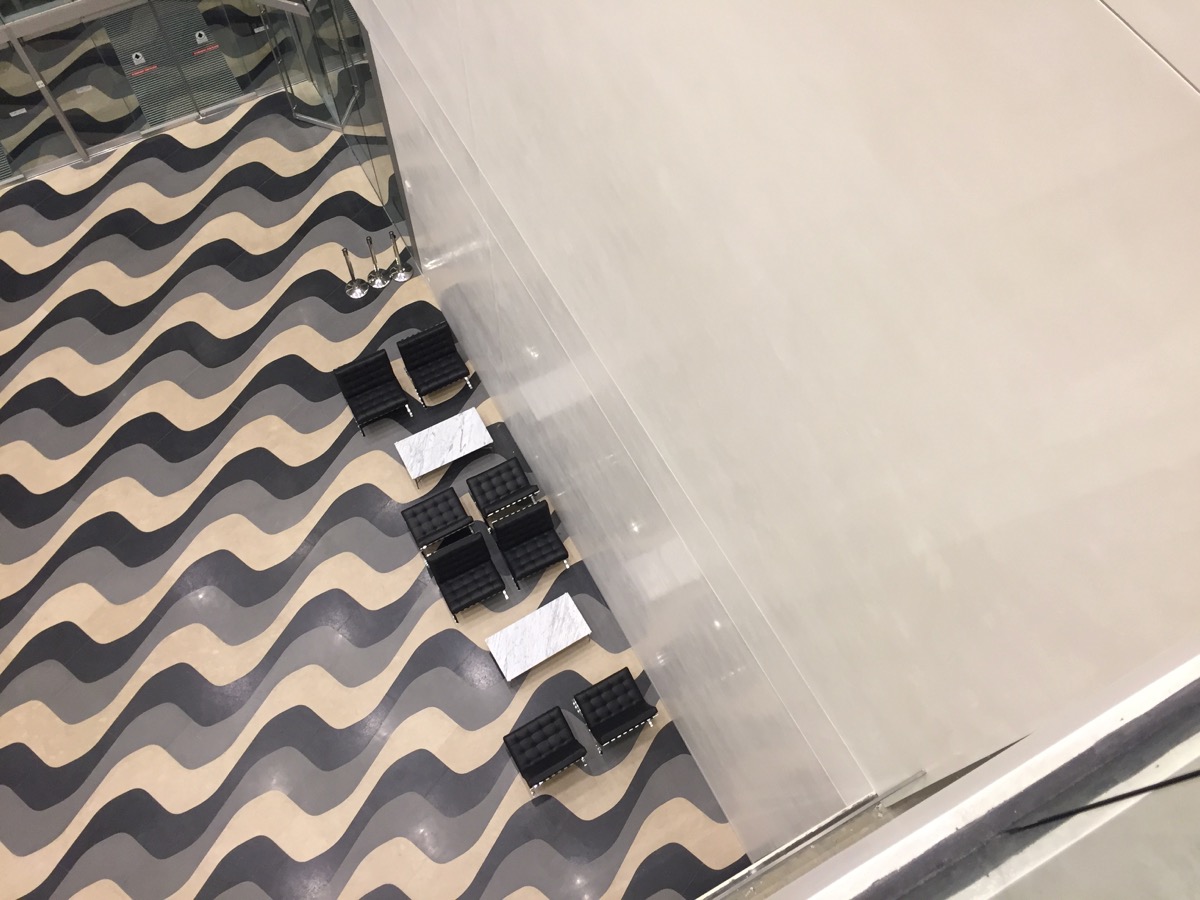
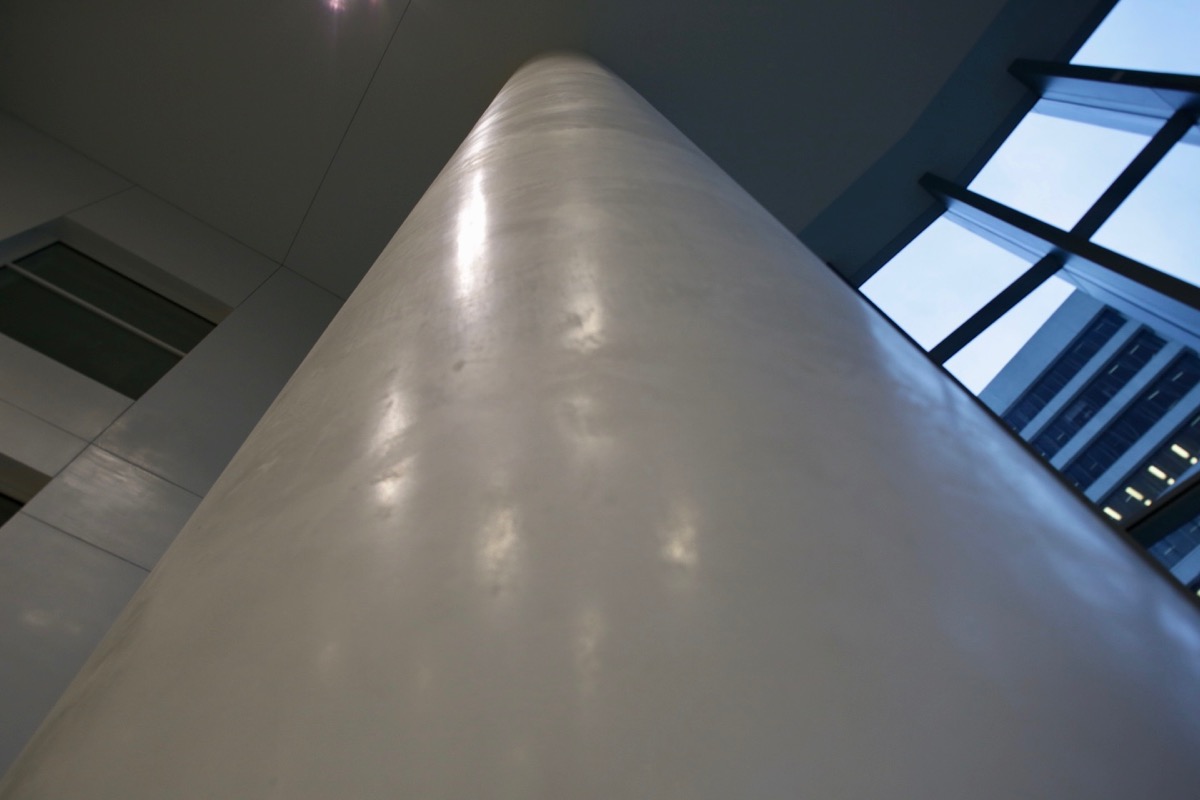
The finish I created was installed in a 3 layer system of Italian lime plaster, the final layer had mother of pearl added to enhance the look and stone like characteristics of the surface, emulating the look of stone with a semigloss shine and dullish areas.

-Scroll to the bottom to watch the video of the Exchange-

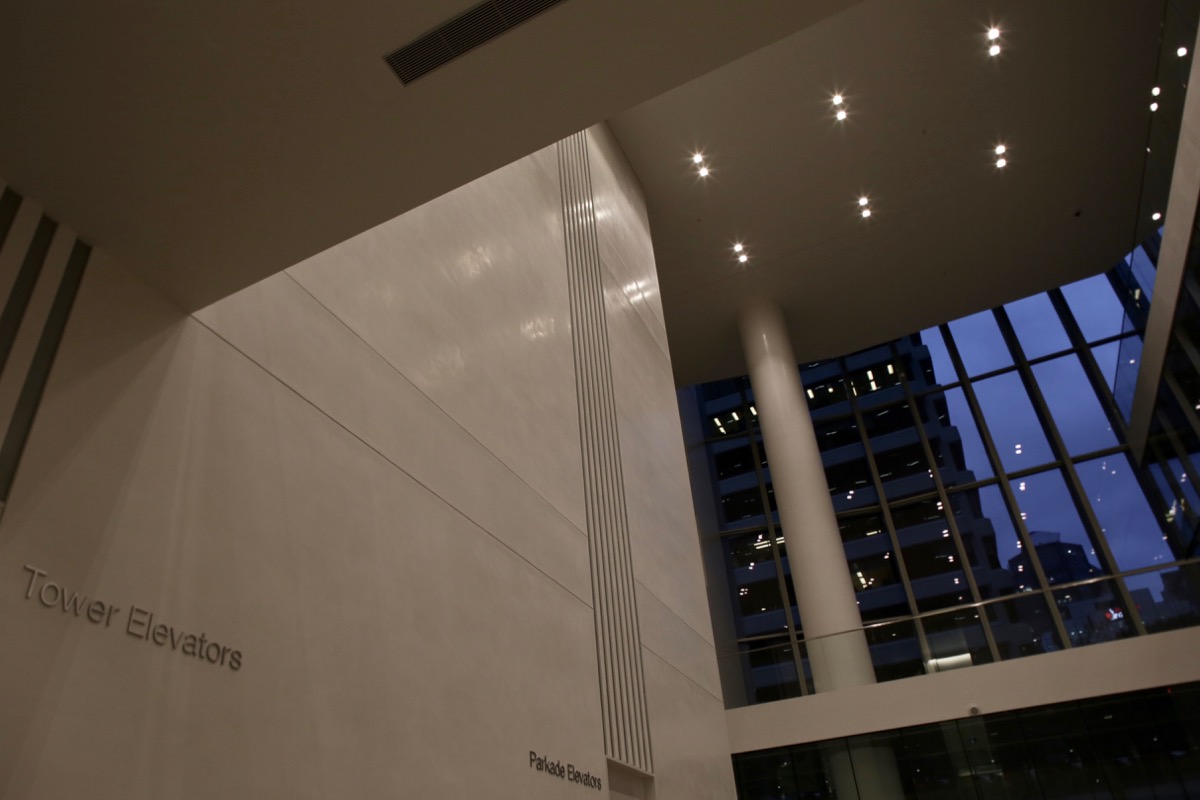
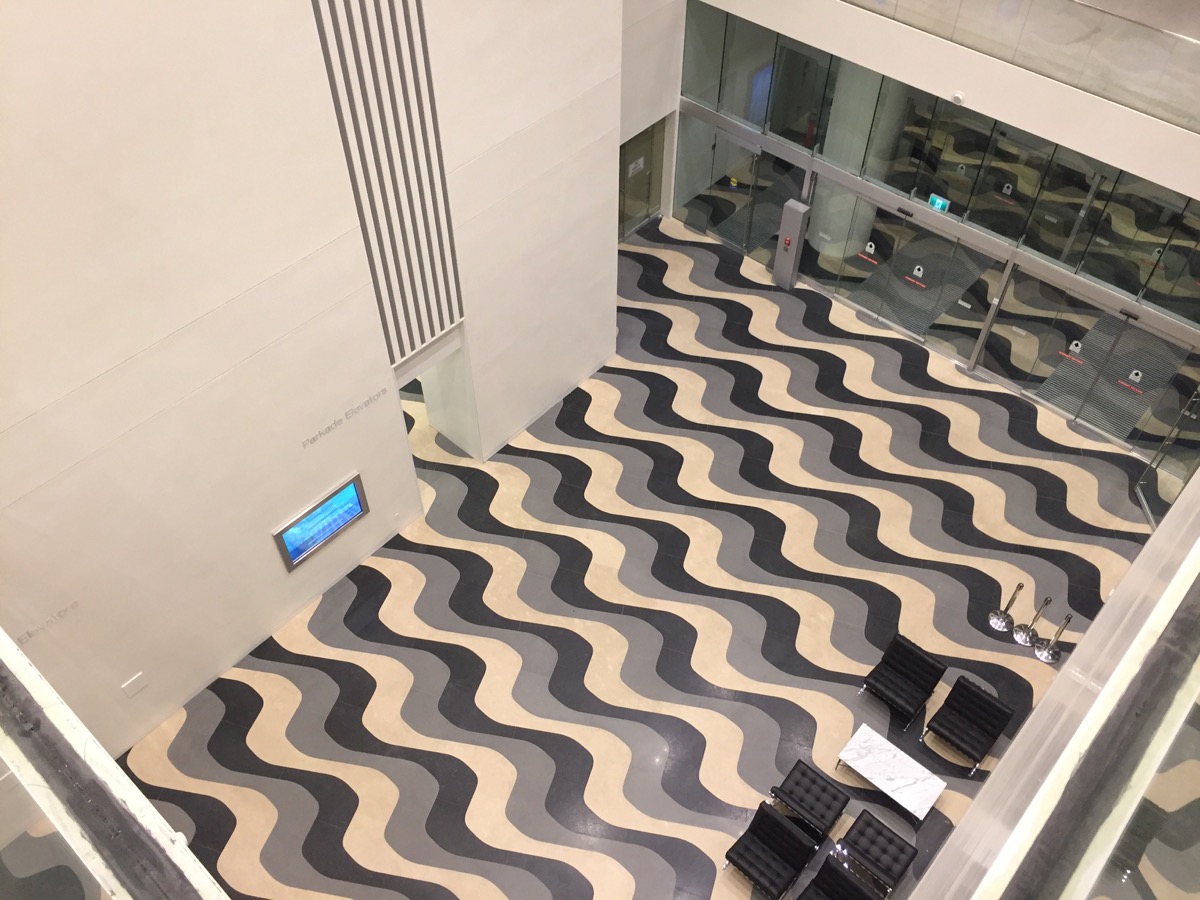
With walls sprawling 5 story’s in the air, complete with 1/4″ FryReglet reveals, detailed vertical battens and a concrete pillar to match. A project of this stature could surely make or break a career. In my life of creating finishes for projects like the Exchange doing the normal is not enough for me, I live for a challenge and the ability to learn and grow in my plastering skills.


In the beginning of the specification for the plaster system I gave my experience with long term durability of plaster in commercial spaces, making it a point that the base board and external corners be treated with a stone cap for added protection. We also discussed a design concept for the wall system including a high abuse coating below my plaster on the lower portions of the most hi traffic areas.

Getting to be part of the team involved in creating and building The Exchange was an amazing experience and I thank all those involved. I worked closely with Iredale group, PCL construction & B&O drywall on this project.

The Exchange Office Tower Interior Lobby Arial Drone Footage from Darrell Morrison on Vimeo.

Over the summer we had the opportunity to work in the Kitsilano Aēsop cosmetic store on West 4th Ave. The design for the store was designed split in half with a mono tone Italian lime plaster in a grey concrete colour. One side highly polished and the other matte. The two sides split with a brass strip down the centre.

Challenges in Venetian plaster applications is really what we thrive in, when asked if we could plaster the cabinets for the store we excepted the opportunity. One of the largest issues that arise on commercial construction projects is time and having enough of it to complete the project in its proposed deadline. Over the years we have developed systems to help aid these situations for our clients.


Aēsop from Darrell Morrison on Vimeo.


Here are some of the before shoots

When I was approached for this fireplace in the spring of 2015 I thought to my self wow what a beast, this fireplace would be a killer retrofit from the old style of red brick. The clients had done there home work and wanted an Italian lime plaster for its beauty and versatility in colour choices and texture, we ended up using Cadoro Italian Lime Plaster Intonachio in a two tone custom colour made in house at our studio. From start to completion we handled all the construction.

Tadelakt pillars inside and out, Fibercrown mouldings installed by and painted to resemble limestone. Italian lime plaster inside and out, antique mouldings, stencils, lath and plaster domes finished in silver leaf even the fountain base was finished by our hands. This house will be one to beat in our book of projects, a true masterpiece and an amazing group of people pulled this all together.

Italian Villa Lime Plaster Full Interior & Exterior Vancouver BC from darrell morrison on Vimeo.

Tadelakt pillars inside and out, Fibercrown mouldings installed by and painted to resemble limestone. Italian lime plaster inside and out, antique mouldings, stencils, lath and plaster domes finished in silver leaf even the fountain base was finished by our hands. This house will be one to beat in my book of projects, a true master piece and an amazing group of people pulled this all together.
-The Villa Work Performed-

-Exterior-
Two tone venetian lime plaster exterior

Install all fibercrown foam mouldings on exterior of house including arches windows and base.

Lime paint all mouldings to resemble lime stone

Tri-color Tadelakt lime plaster pillars

-Interior-
Smooth Venetian plaster walls including all ceilings and walls throughout house

Main interior fireplace install fibercrown, float substrate plaster to resemble walls and carved limestone

Plaster pillars and arches in Tadelakt with glaze and wax for an aged look

All domes finished in lath and plaster then decorated with silver leaf.

All wood beams on interior wood grained

The process, the projects, the finished product: This is an inside look into how I create my Venetian plaster projects, making them come alive.

In this video, you’ll see steps used to create my Venetian plaster projects, including completed project photos of Classic, Carrara, Intonachino and Tadelakt plaster applications.

When it comes to my projects, it’s Stucco Italiano Italian lime plaster that is my one and only choice, and I think this video shows you why. When you think interior stucco think Authentic lime based Venetian plaster.


The trip home from Banff, Alberta, was an amazing seasonal drive. As I dropped from the Rocky Mountain highs to the Okanagan, then sea level, I saw things go from end-of-winter to lush and green, full of spring life.

I greatly enjoyed experiencing all four “seasons” this year, thanks to my cold-season work in the mountains and Alberta. It was mostly rain and a really mild winter in Vancouver, not one of our best years, but also not that unusual. It was a good time for a wintery change of scenery, but it’s nice (if a little soggy) to be home.

I’m getting back to making the rounds and taking on local projects. This past week, my team worked on two Valley projects — one in Maple Ridge and the other in Langley. The lengthy drives between home and the two projects took some adjusting, but it’s a great place to drive.

We just finished work on this smaller “feature” barrel ceiling’s plaster treatment. It’s one of those little jobs that starts and finishes quickly.

Italian Venetian plaster like this is where I began working in this trade, and those days kicked off what I hope will be a long and great career. It’s a real treat to work where I got my roots.

Smaller projects like this are always fun, too. Seeing the end result more quickly is a great pay-off compared to the visual impact but long work stint that doing a huge project comes with. I enjoy having a mix of both kinds of jobs.

Decorative Paint & Plaster is back in town and we’re booking clients for the next two years. How can we help you?

Another week has come and gone, and I’m a week behind on my blogging — with pretty good reason, too!

My crew has been working really long days and straight through their weekends in order to keep up with production on the house, since the trades are all making huge advances these days, and there are a lot of pictures to prove it.

If this is the first time you’re dropping in to looking at this project, I’d suggest going back to the beginning of this amazing Rocky Mountains Italian lime Venetian plaster project in Banff, right here.

I’ve been loving the level of work from everyone involved in this project. Get a load of this amazing buffalo design in the stone flooring, at the main entrance.

It’s almost like a giant puzzle, isn’t it? I bet there’s a lot of people who’d love to put a puzzle this size together, but I sure wouldn’t. The precision needed to lay this tile is a pretty rare skill, even at this level of the game.

Talk about a mistake getting set in stone… Not for me, thanks. I’ll leave that to the pros.

Here’s another look at the stone buffalo, from the second floor.

A little trivia for you: Did you know that Alberta’s home to one of the two last continually wild North American buffalo herds?

After the Venetian plaster finish on the kitchen ceiling got polished off, other teams got to put the beams up. I’m loving the look and the contrast of the smooth wood against the rustic lightly-pitted plaster, but can’t wait to see it stained.

Another shipment of material showed up this week, which meant more walking up hills and stairs covered in snow, hauling plaster supplies.

Ahh, the boring world of drywall… but progress here means moving on to what we love, the plastering.

Details are critical with a masterful build like this one, where everyone’s brought their A++ game. Here’s Kelvin getting all those reveals smooth and level. It’s looking great, and we know he’ll keep it up.

The beams in the master bathroom are installed now, getting closer to a  finished look.

The outside of this place is getting just as much detail work as in the inside. Here are some shots of the exterior. Now this is some serious craftsmanship going on here.

Here’s one of my favourite areas of the whole build: the back patio, with its massive fireplace.

Can you imagine summer nights, friends, wine, a fire crackling, and those towering evergreens all around?

All work and no play makes Darrell and the boys unhappy. I’m no dummy, we can’t have that! No trip, not even a work one, to Banff, Alberta, is complete without hitting the local slopes. Here’s us, off to Sunshine Village for a little powder action.

Sometimes accidents happen… Would you believe a darn tree just jumped right out at me? 🙂

Thanks for sticking around as my epic work adventure continues.

Stay tuned for more soon!

Cheers,
Darrell Morrison


Guess what I’ve always dreamed of scratching off my bucket-list? Plastering a high-end commercial building.

Soon, I’ll be scratching it off! (Or I can change the bucket list to “super-big high-end commercial building,” maybe. Then, after that, add “downtown”.)

Starting April, 2011, I’ll be starting an amazing adventure with my team as we begin a massive lime plastering project in the Grandview Business Centre in South Surrey, BC.

It’s a great building, an important part of the new “Morgan Crossing” district, which is an area that has just exploded over the last two years.

The mall, The Shops At Morgan Crossing, has great businesses like the Steve Nash Sports Club and a favourite of mine, because we all love a good wine: the “Everything Wine Store”.

Located so close to the mall, the Business Centre’s a great location for professionals looking to be accessible and convenient for clients.

All right, let’s talk project details.

The Builder Double V Construction will be creating the blank canvas for this amazing project.

We’ll be putting lime plaster in all the common spaces (including lobbies, corridors, and washrooms) on the Morgan Crossing Business Centre’s 1st, 3rd, and 4th floors.

We’ve chosen the palette already.

The corridors will be a slightly polished sandy/cream-coloured lime plaster with subtle pitting and black flecks.

Washrooms will be treated with a cement-based plaster that incorporates subtle pitting, almost like a honed travertine, but seamless and free of any joints.

The lobby ceiling will have a shiny finish that resembles the look of polished marble.

I can’t wait to see so much of my work in one place. A lot of what I work on is in private homes, but this will be a project that I can “visit” for years to come — and close to home, too.

Stay tuned while I prepare for this awesome undertaking, because I plan to share the journey with you by blogging the process in words and video while things come to life.

Cheers,

Darrell Morrison

Over the past week, I had the opportunity to work on the new Bosa building in White Rock, BC, with one of my favourite designers — a big fan of my style of Venetian Plaster. She’s always pushing me to try new things and stretch my creativity, so it’s a great working experience to be around her.


When meeting a new client and designer, the most important part of the meeting is being able to absorb their ideas and use that as inspiration for creating a unique design that’ll reflect the best of everything they want.


I think I pulled that off, and it’s even reflected in the materials we used.


For this project, I used Carrara Marmorino. It’s different because of its small granules, which allows it to polish to a beautiful satin finish. For added durability and a beautiful finish, I sealed the surface with natural beeswax.

This past week I was working on a Metallic Bronze & Copper Distressed Ceiling in a lovely home in Morgan Creek.  I was very excited, as it has been a while since I’ve done a plaster ceiling finish in this style I’d say almost 3 years to be exact and I truly enjoy this type of decorative finish.  A break down of the work involved begins with applying a black base  metallic plaster made by Golden after that is left to dry over night. I then return to apply the bronze plaster also made from materials made by Golden.  Once the texture is created and the designer likes what she see’s the final step is “waxing”.  Now for this step I like to us an old school material called Bri-Wax. I don’t mind sharing the information as its a easily available in most cities. One thing I will tell you is this stuff has a nasty and strong odor.  One more step to go adding copper mica flakes to the wax, this involves melting the the materials in order to make that possible, I advise using caution if you choose to attempt this your self as this portion requires a high degree of safety.


Contact

Office:: 604.628.7855 | Direct:: 604.779.4233 | 9am to 5pm Monday – Saturday

Name
Email
Message

Thank you! Message sent.
Error! Please re-check that all fields are complete.
©Copyright 2019 Decorative Paint & Plaster Concepts Inc.