Photography by Ema Peters
https://www.dwell.com/article/halfmoon-bay-cabin-frits-de-vries-architect-e9a74c69
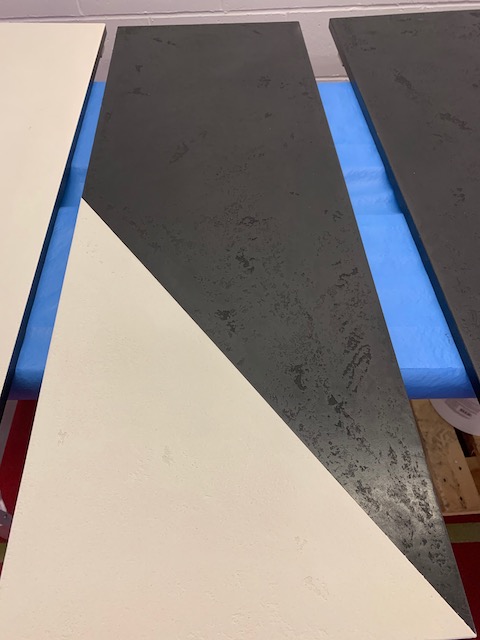
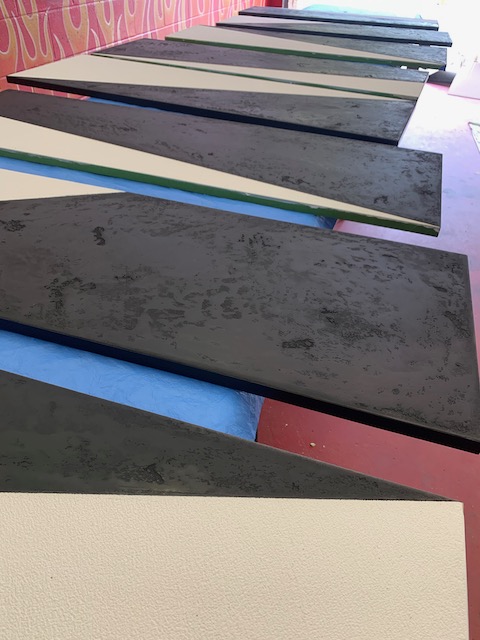
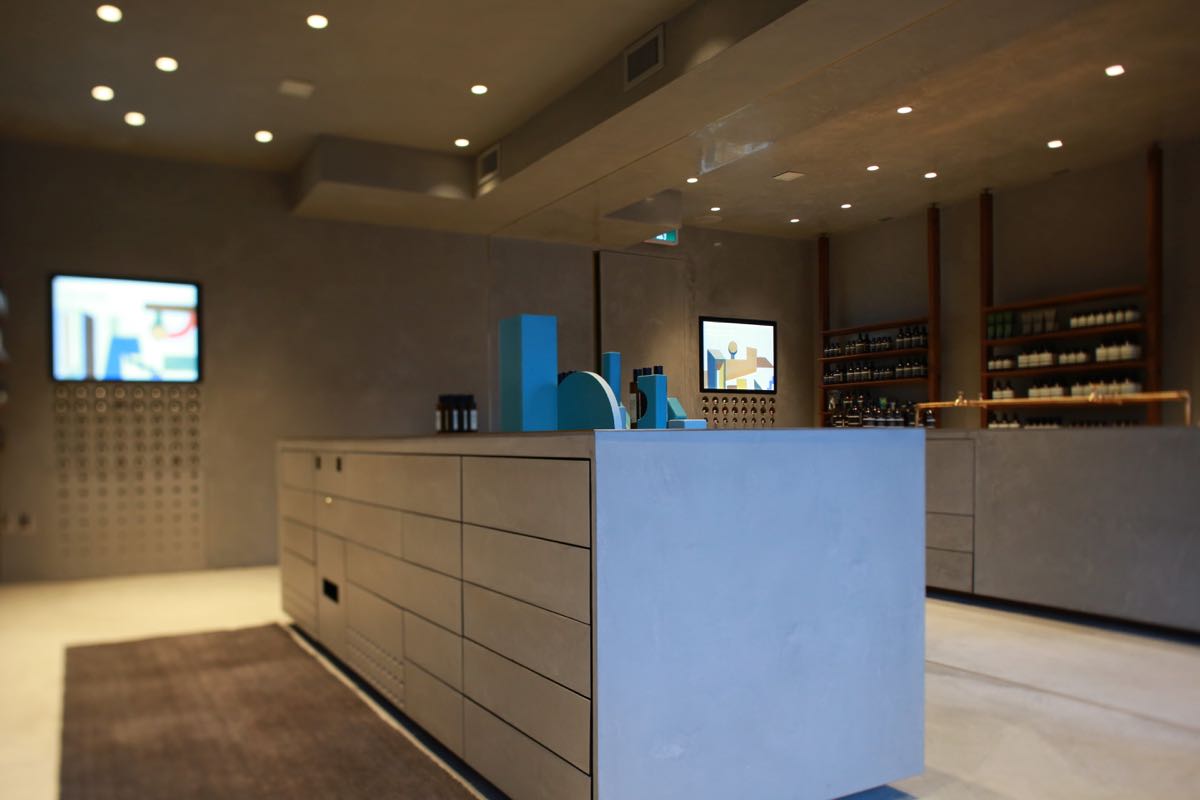
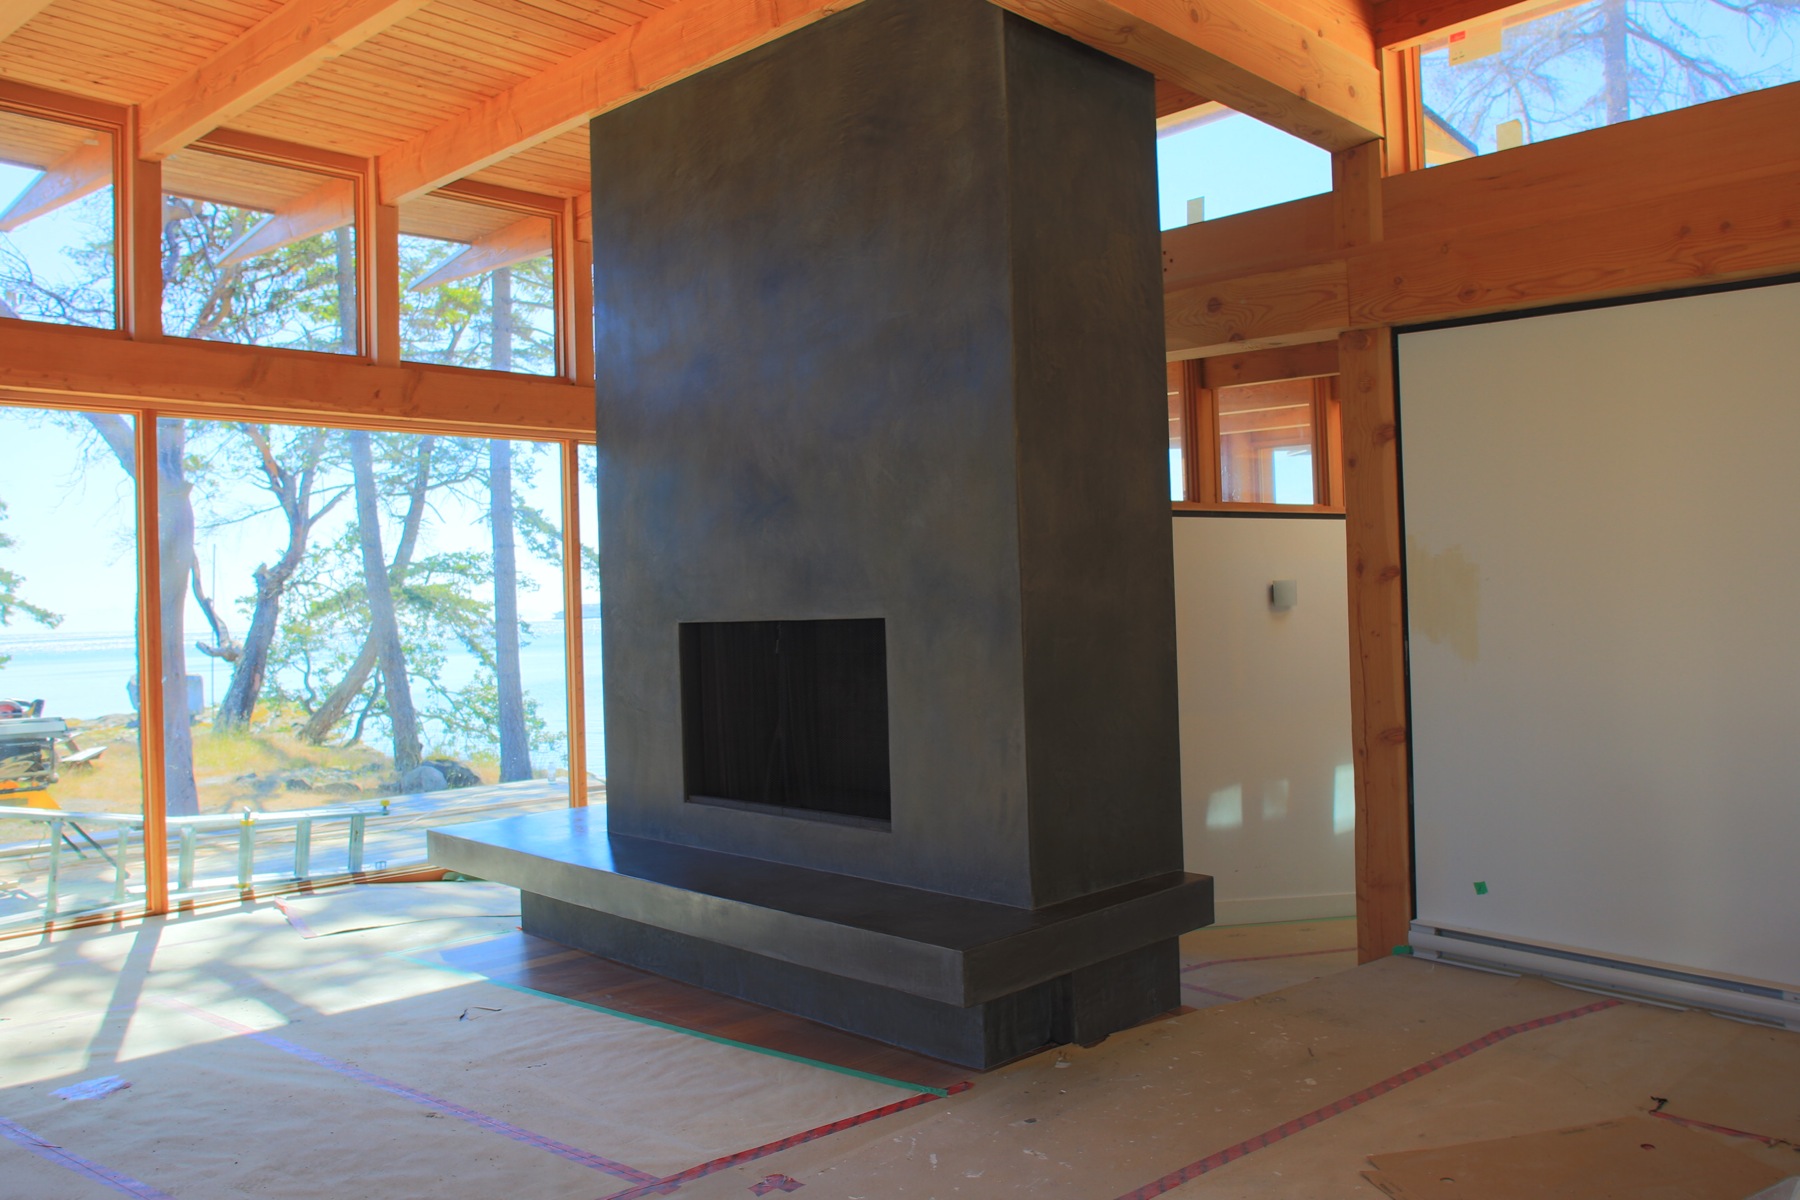
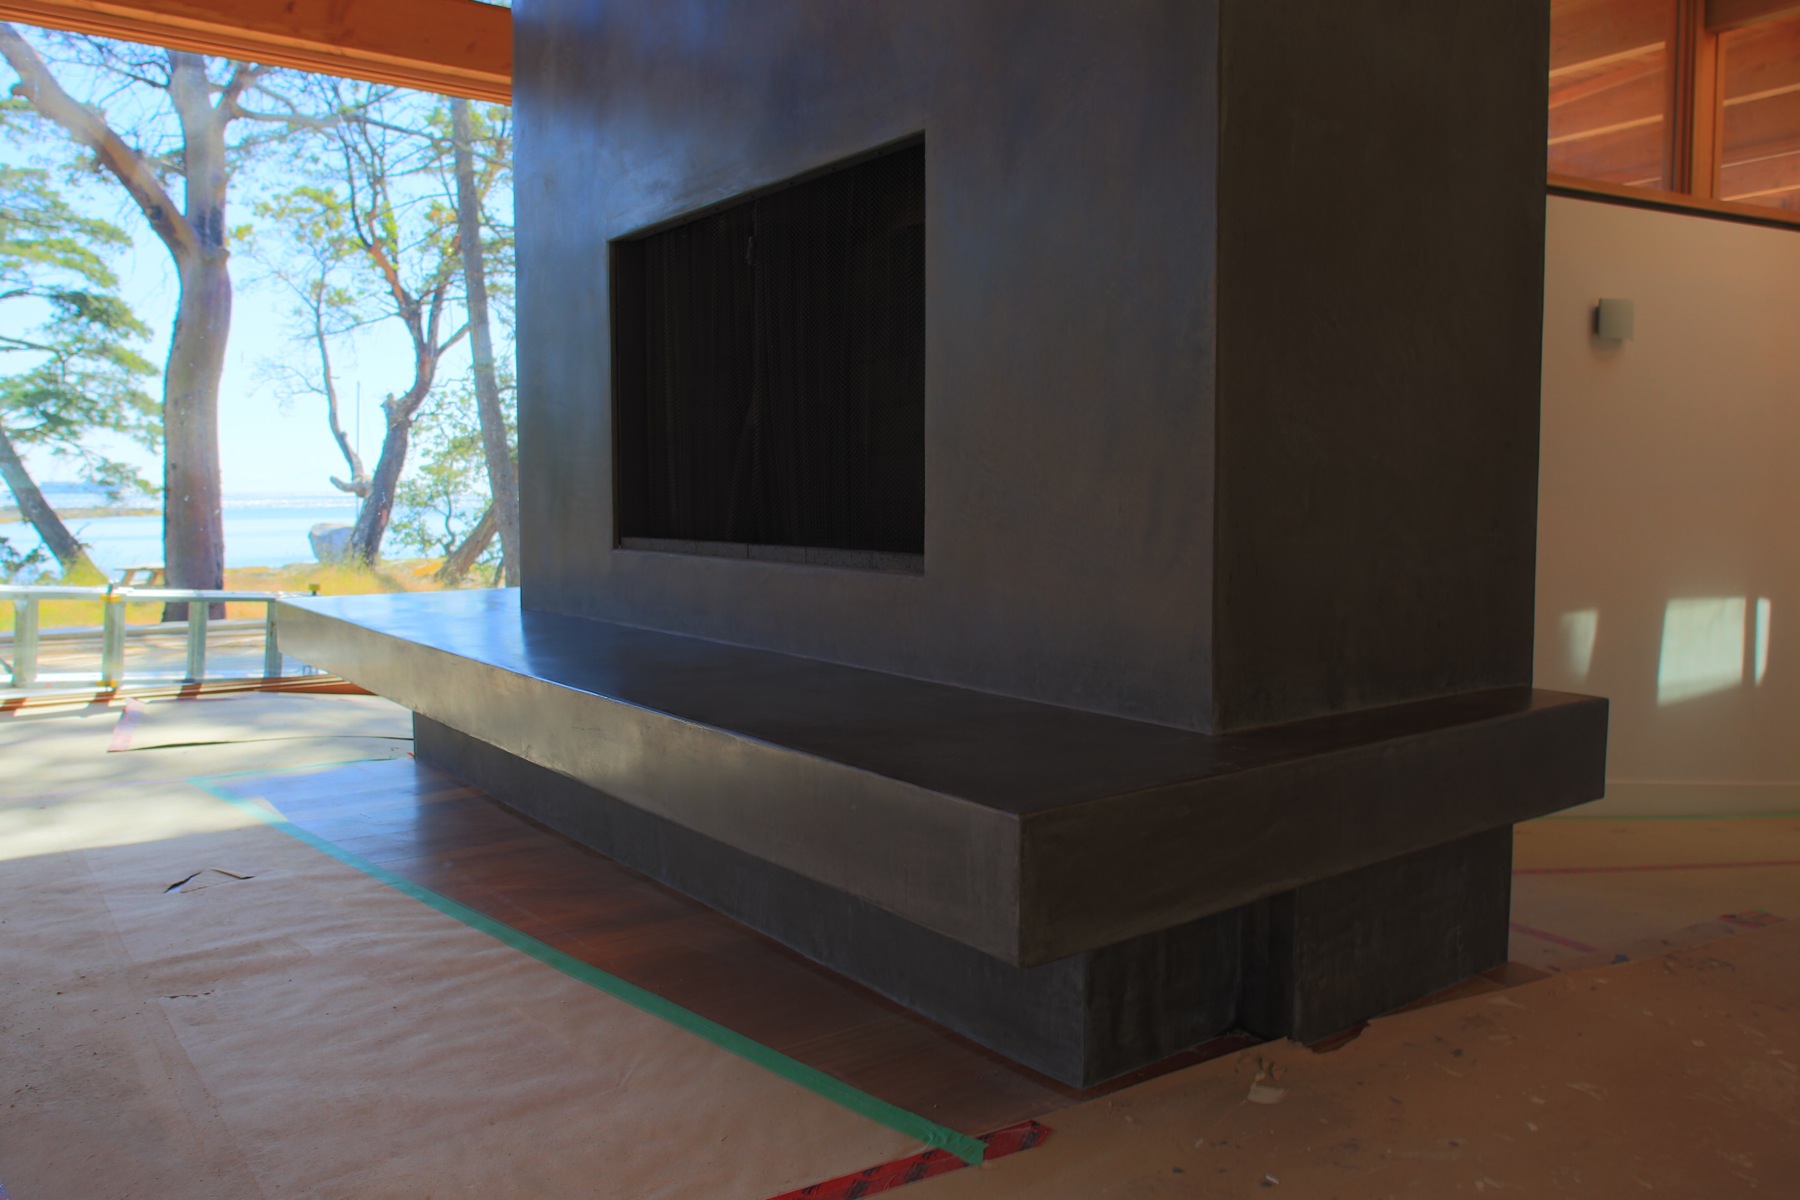
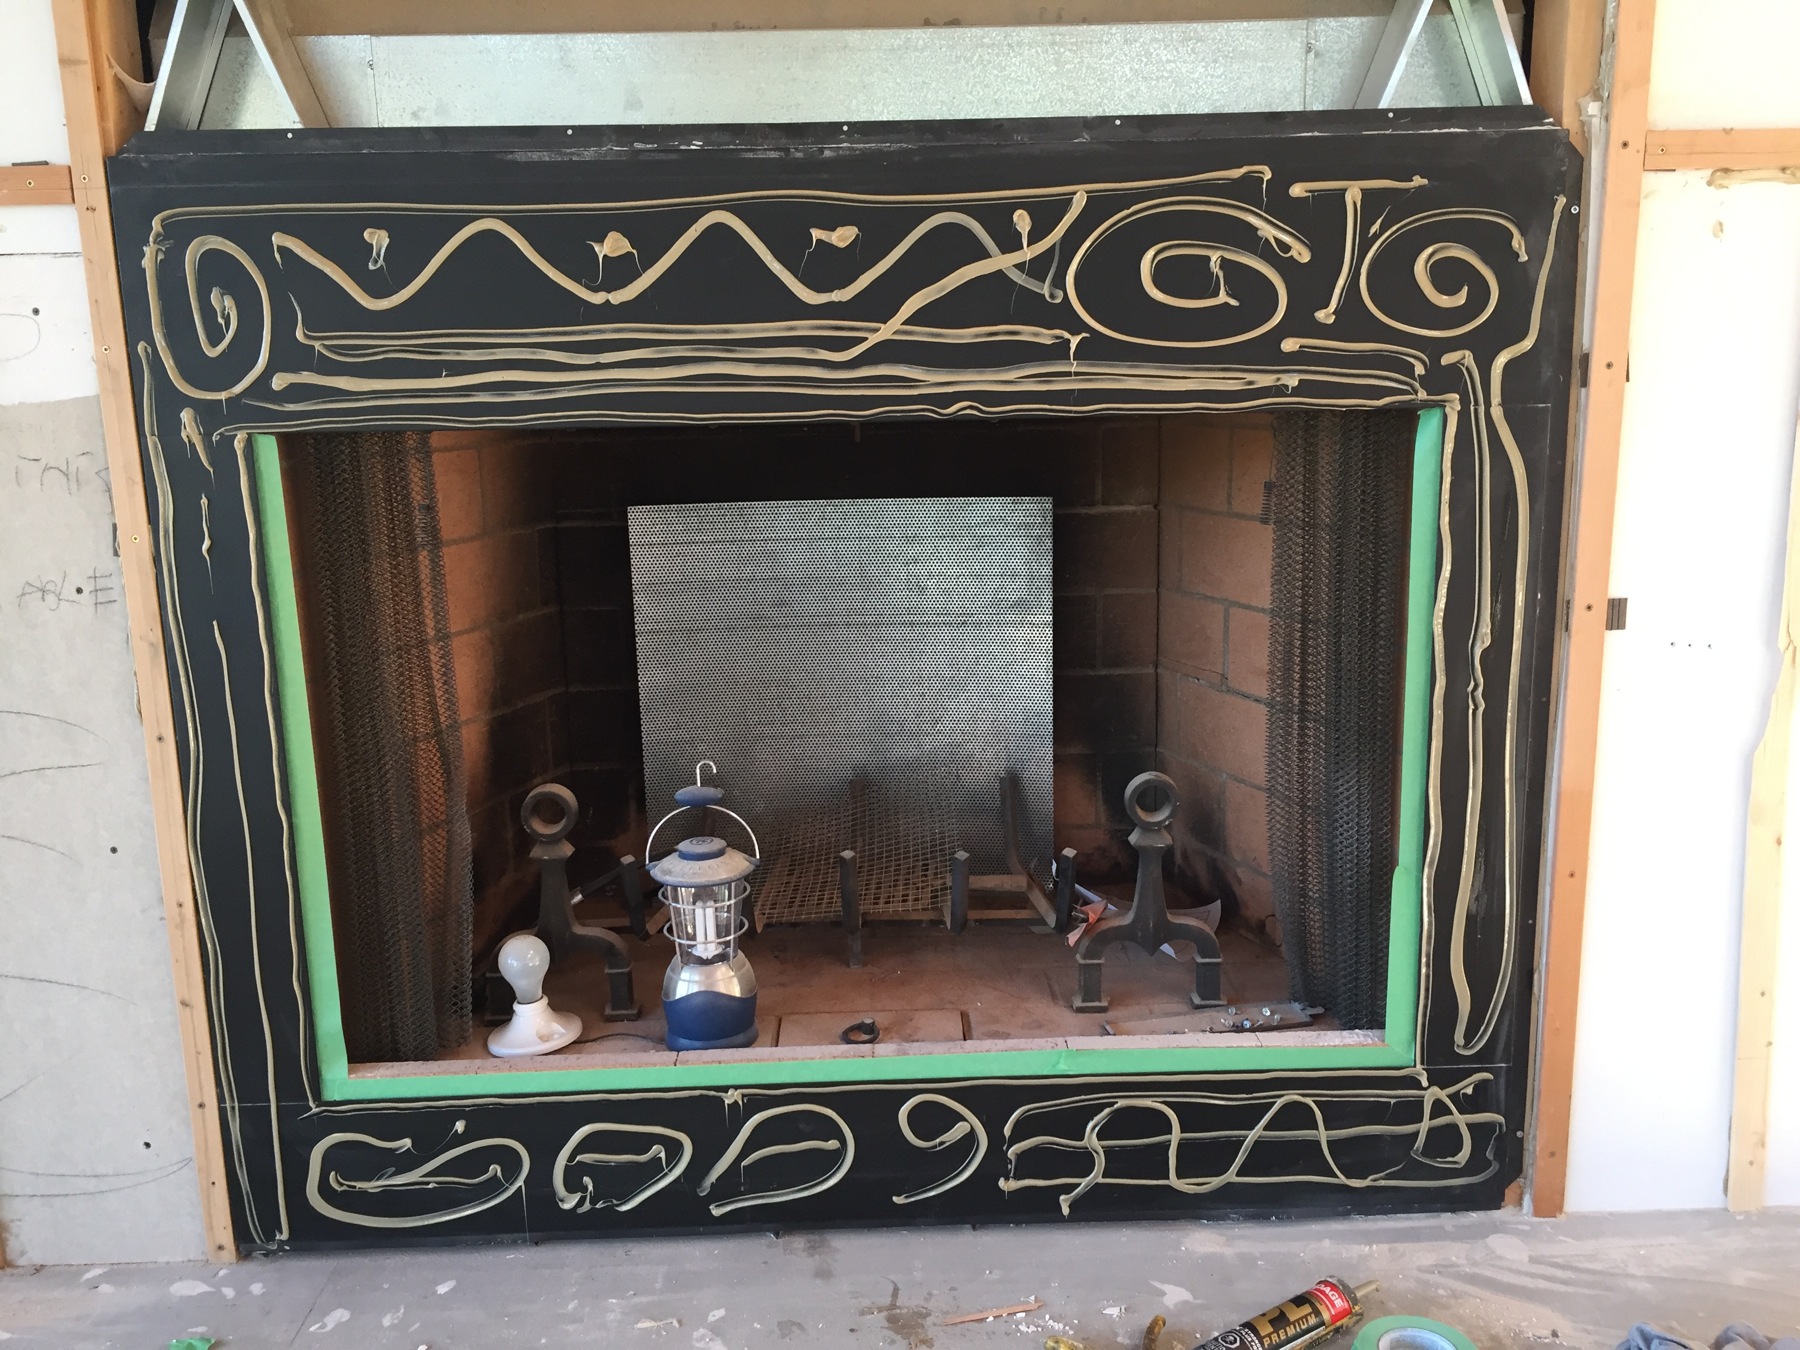
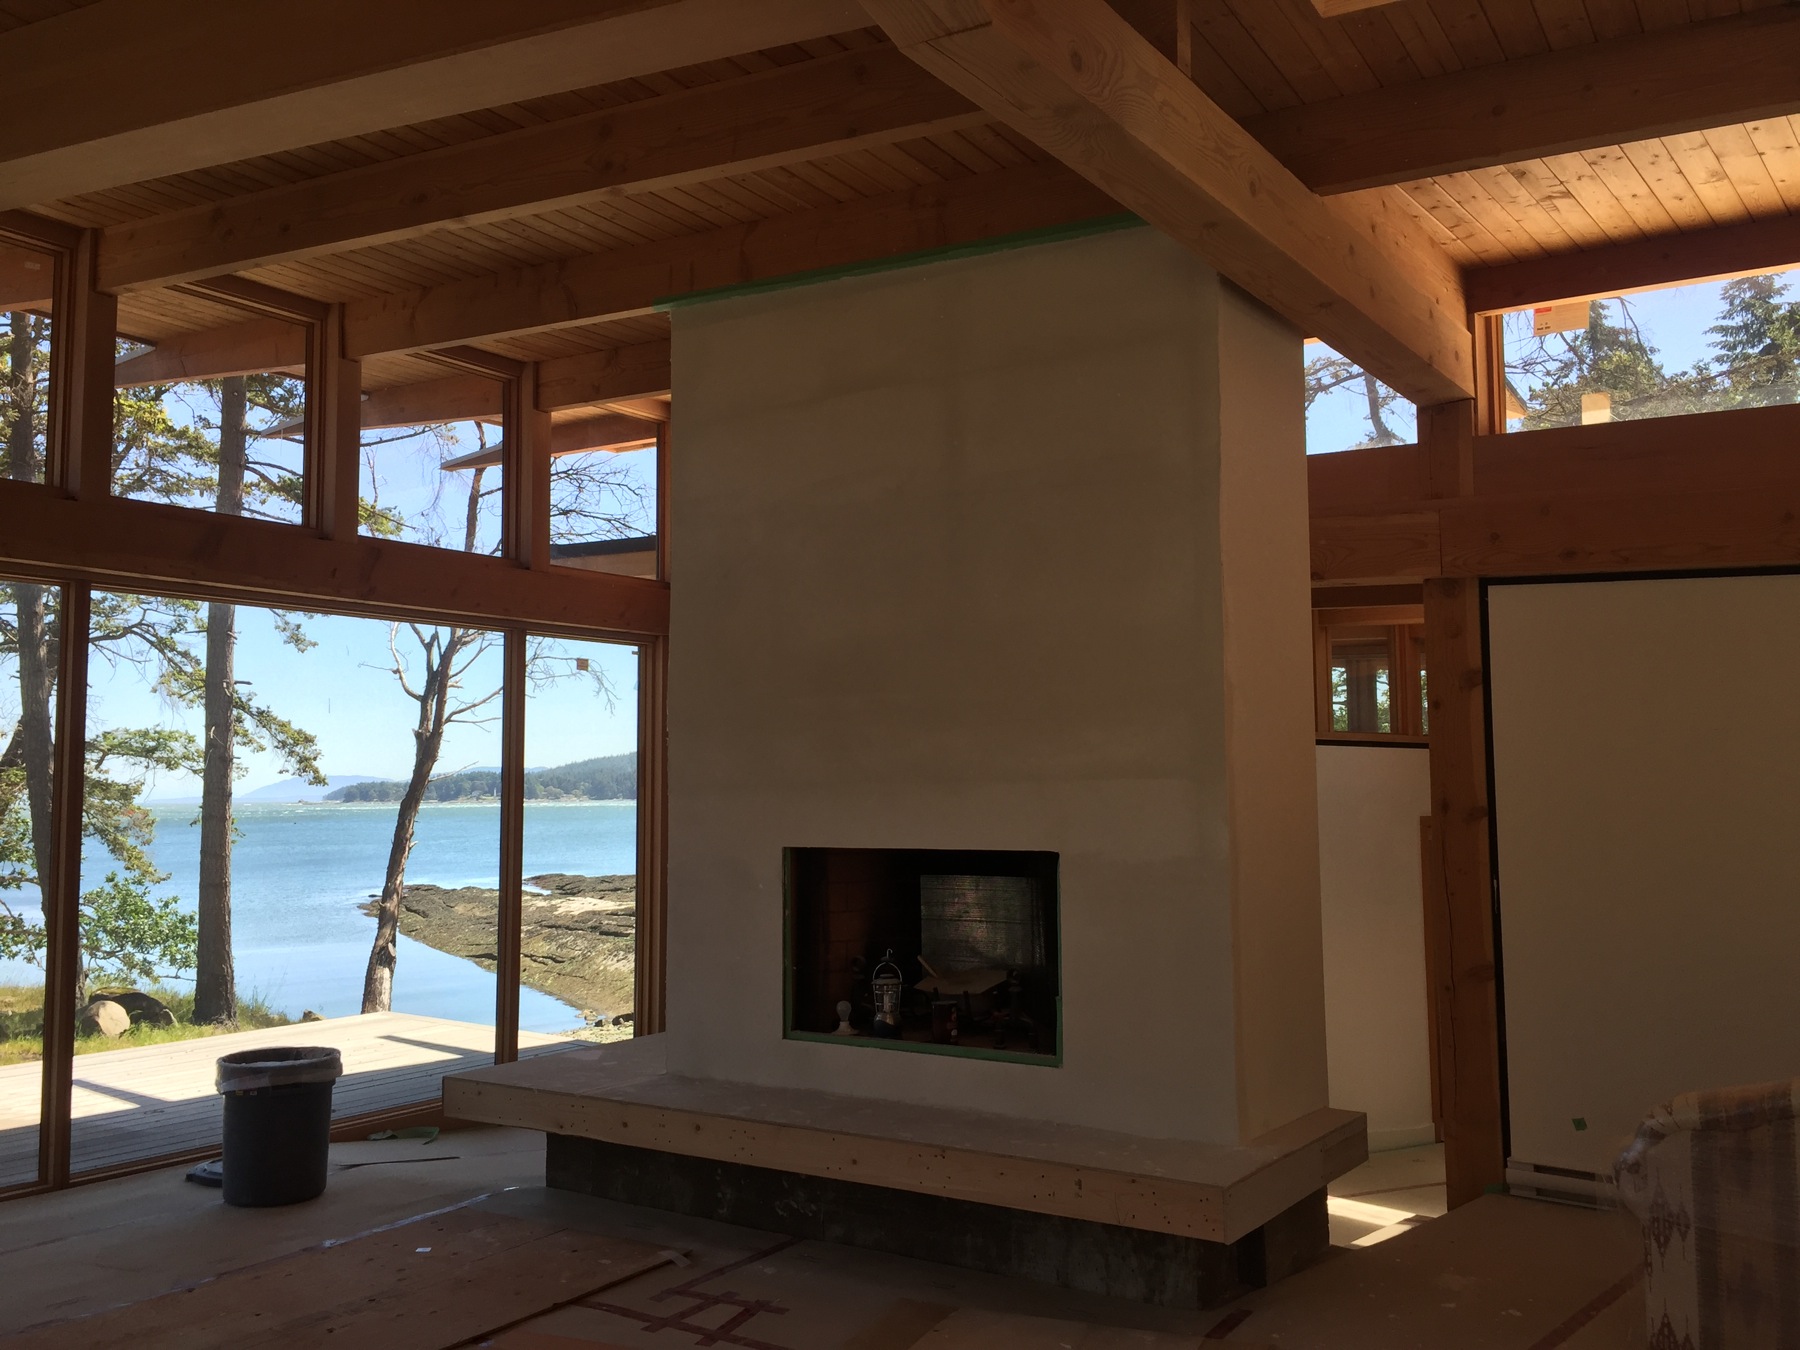
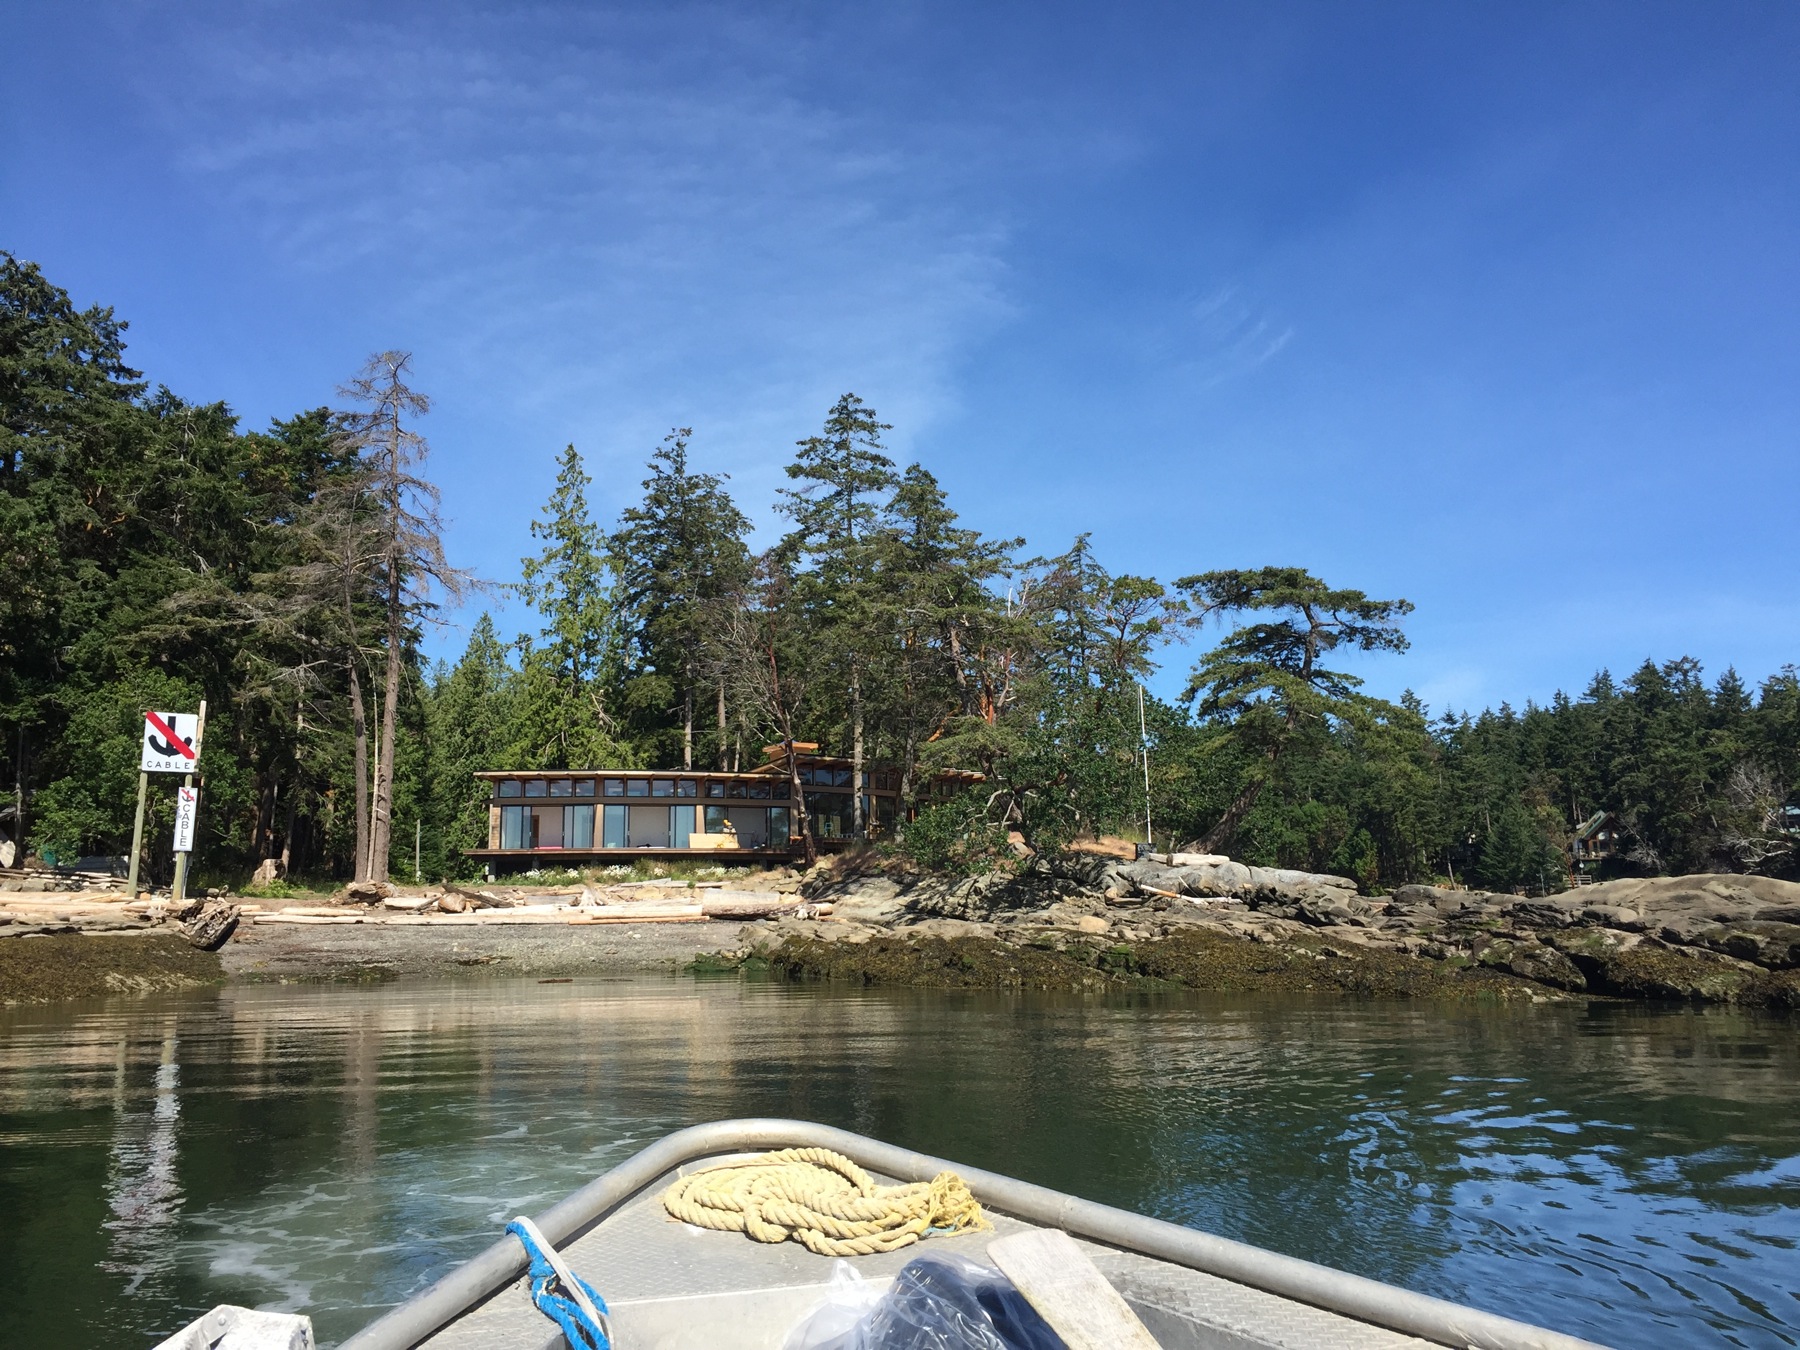
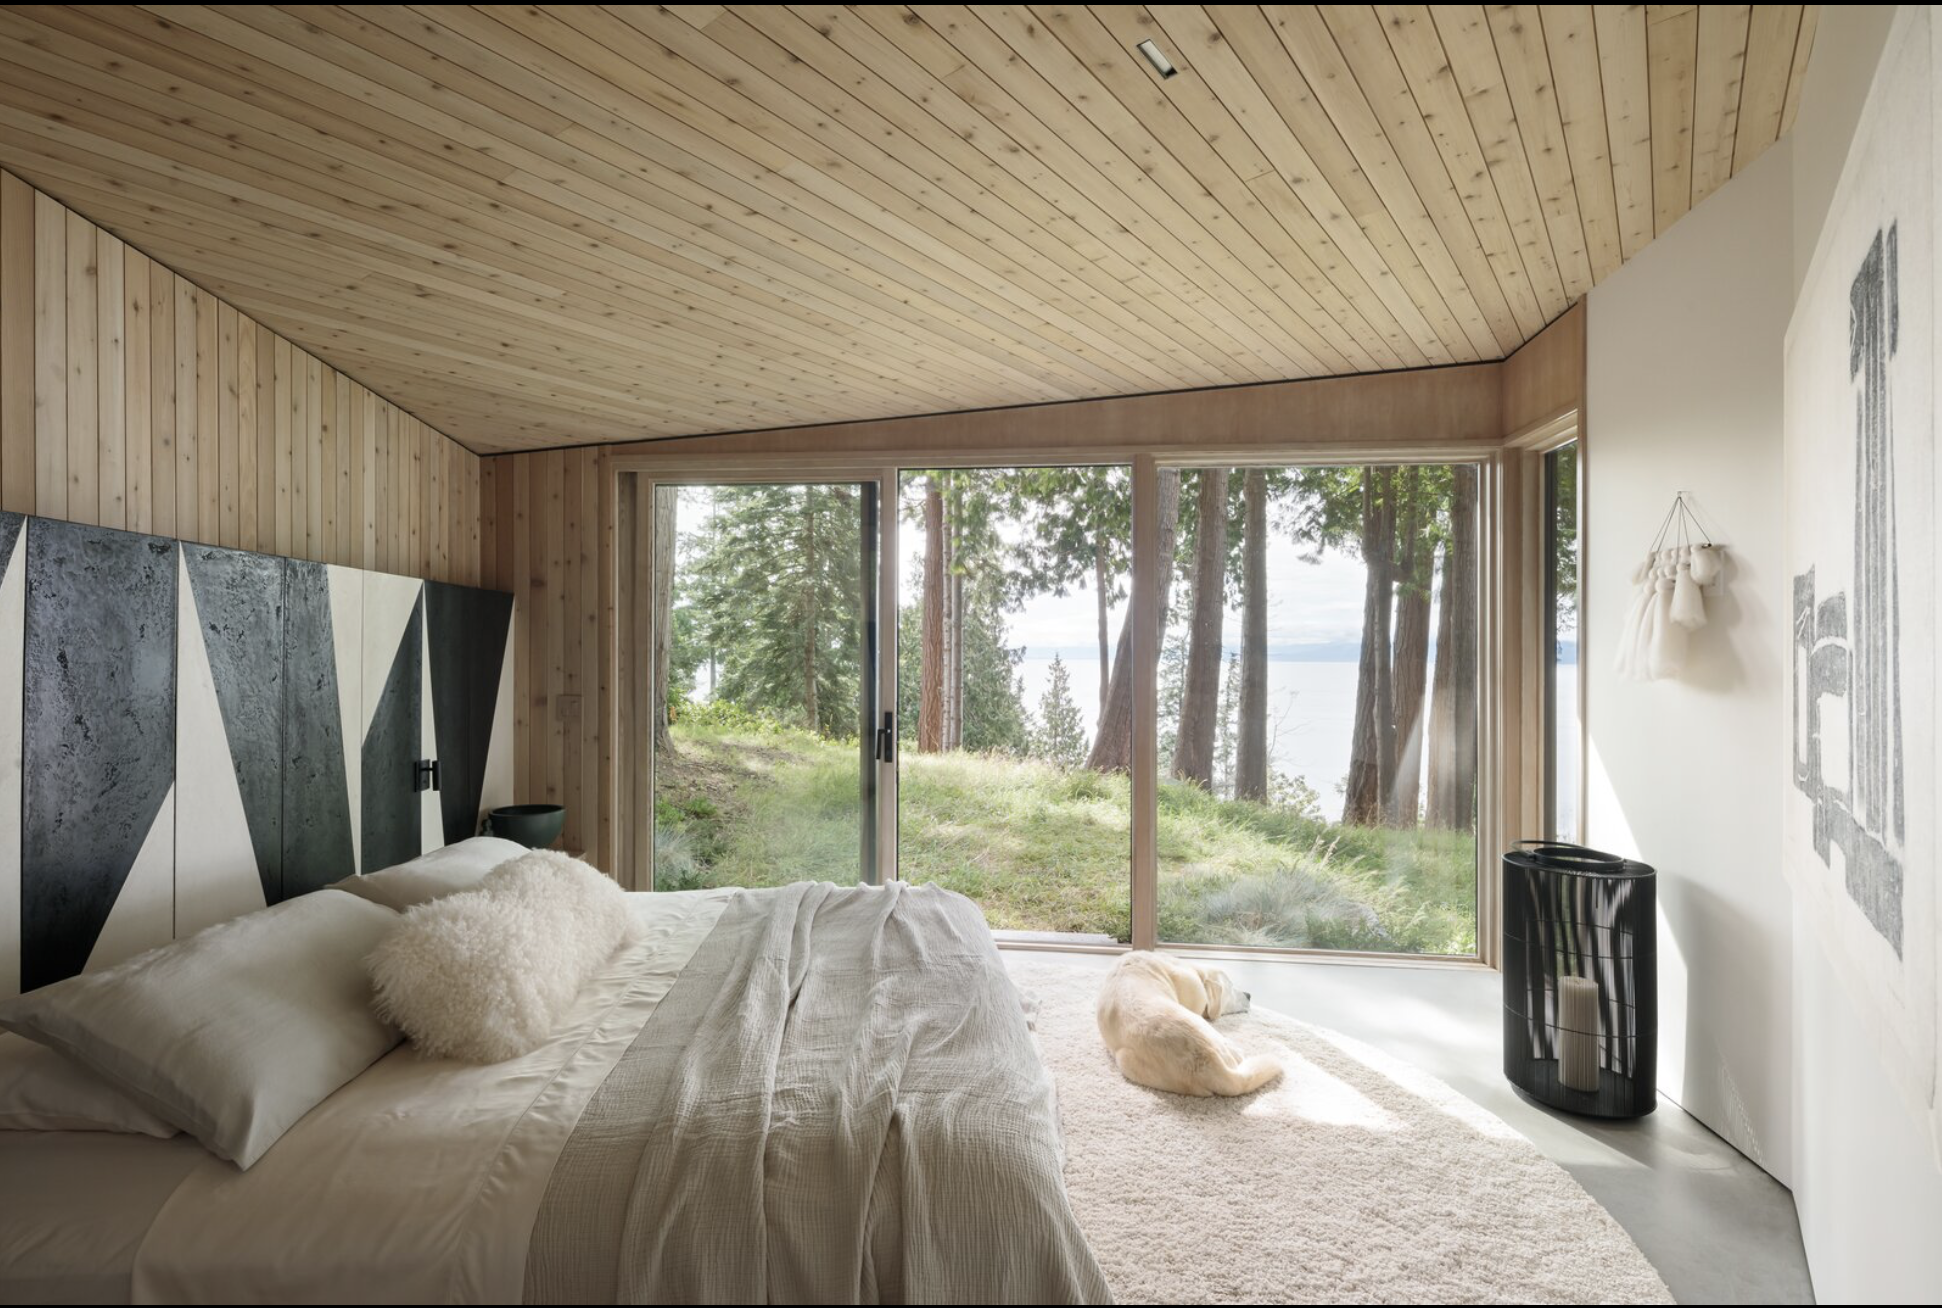
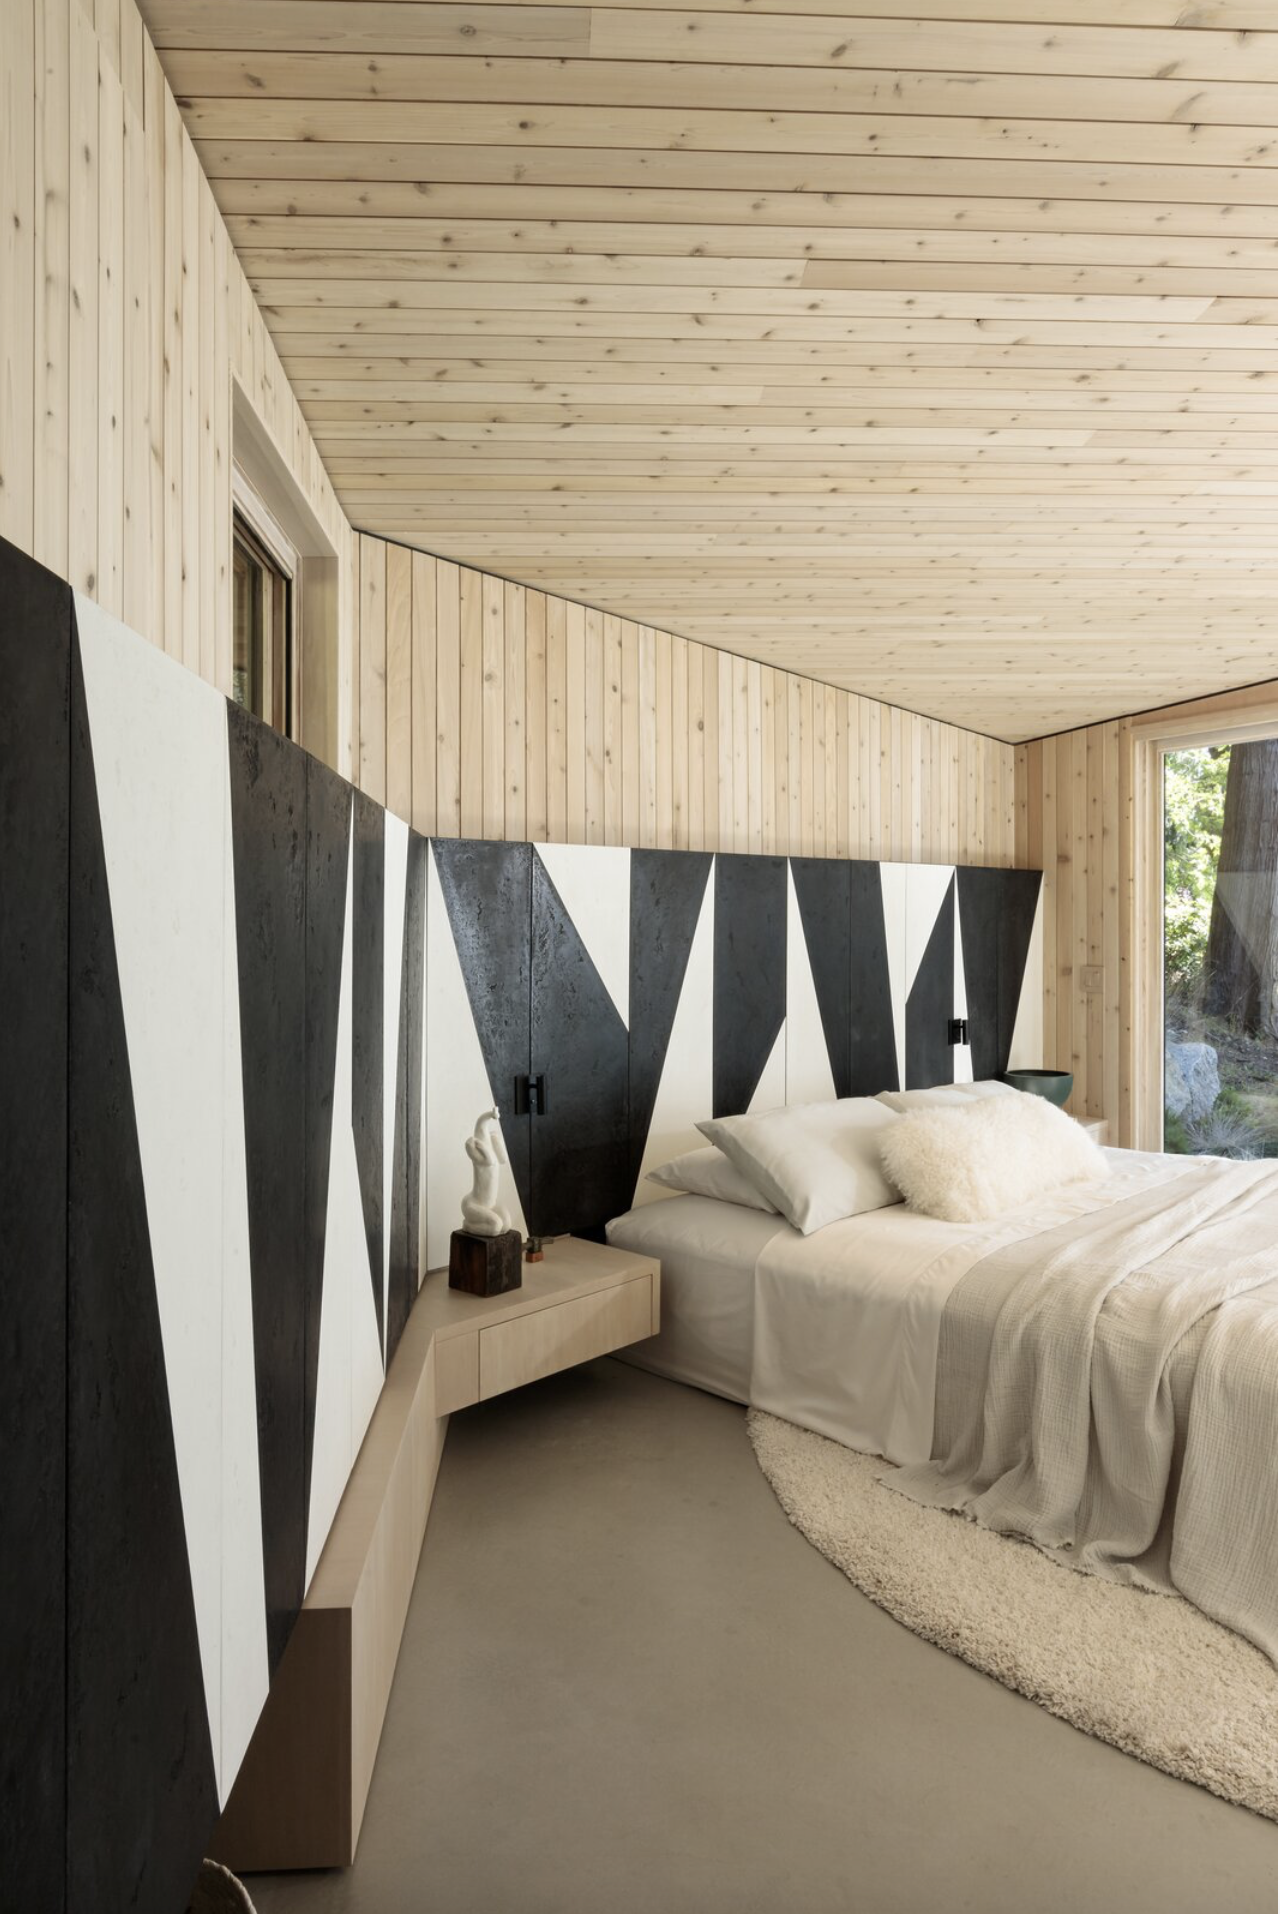
We had the opportunity to work with Frits-de-vries-architects on a private cabin, nestled away on the Sunshine Coast of British Columbia, Canada. When they asked if we were up for the challenge of a black and white plaster with a geographic pattern we said “YES” and it was in all caps. We love a challenge and what’s better then applying an Italian lime plaster in 2 opposite spectrums of the colour wheel. We choose 2 different Cadoro Plaster materials for this project and a Natural Bees wax
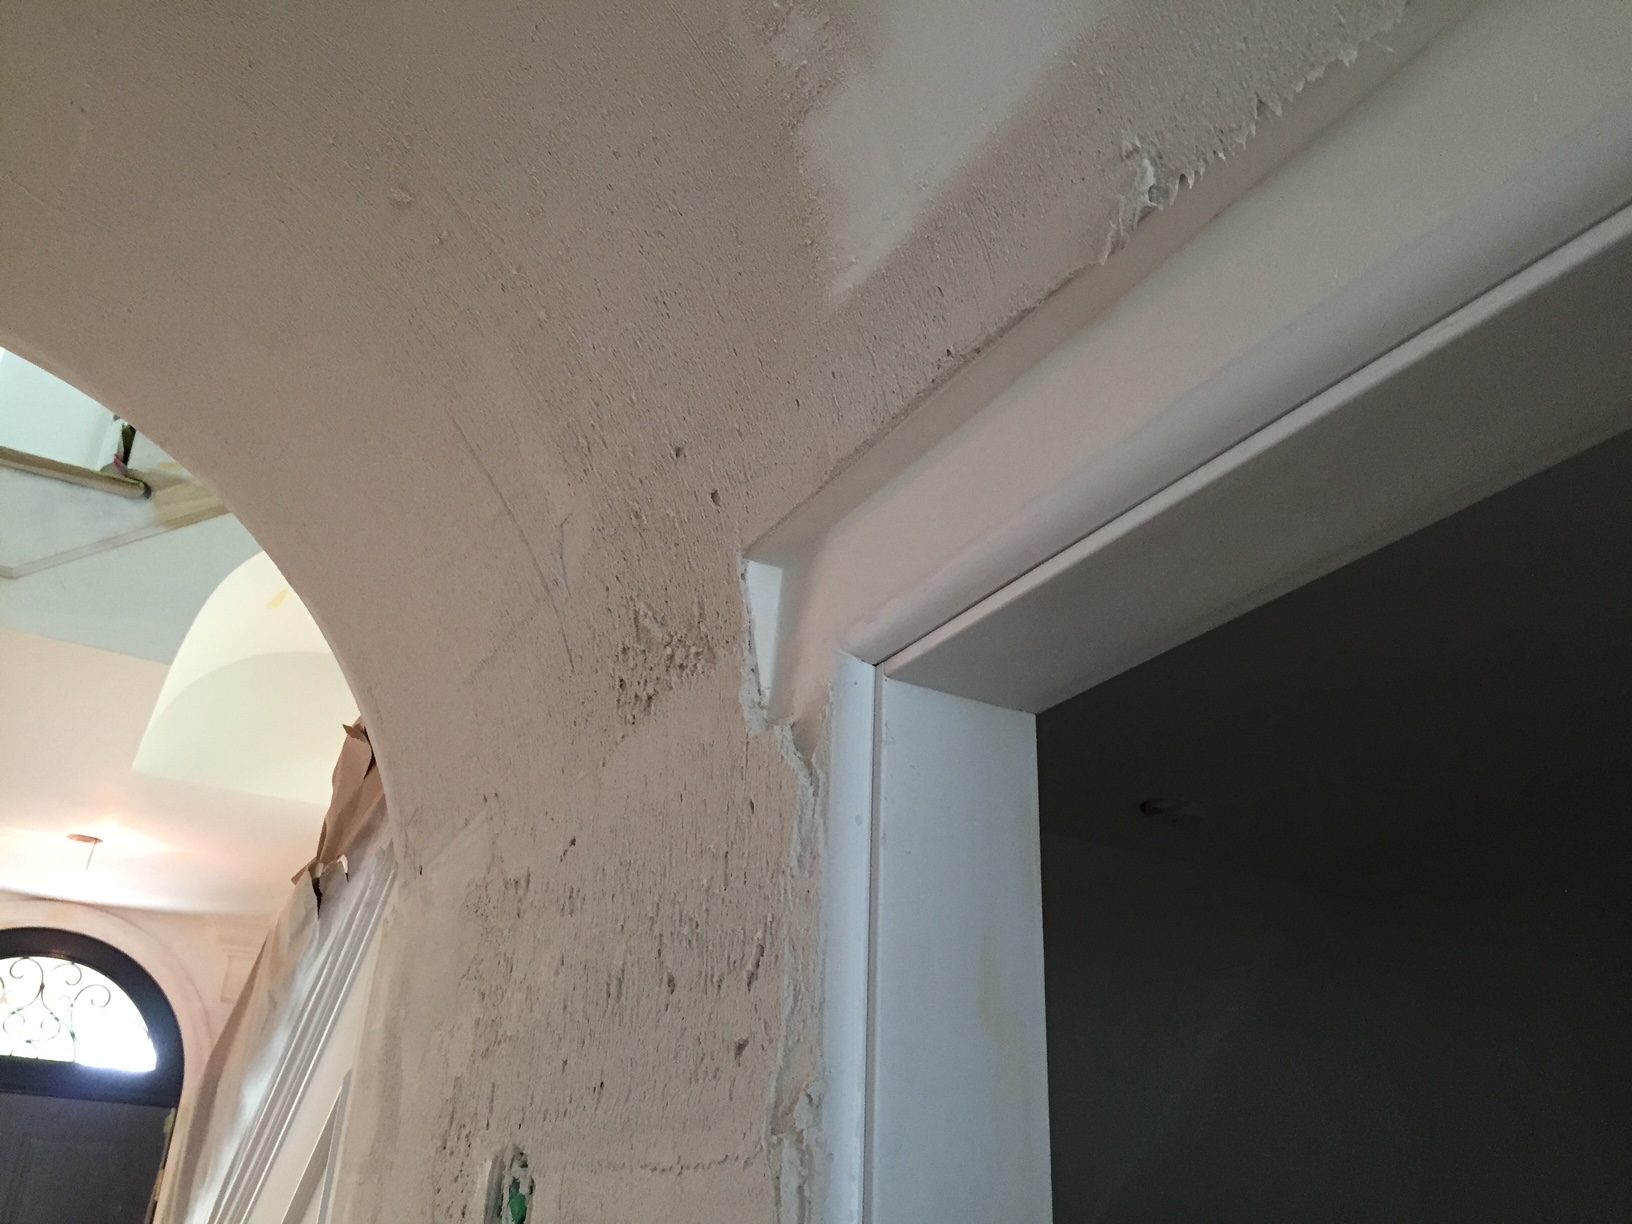
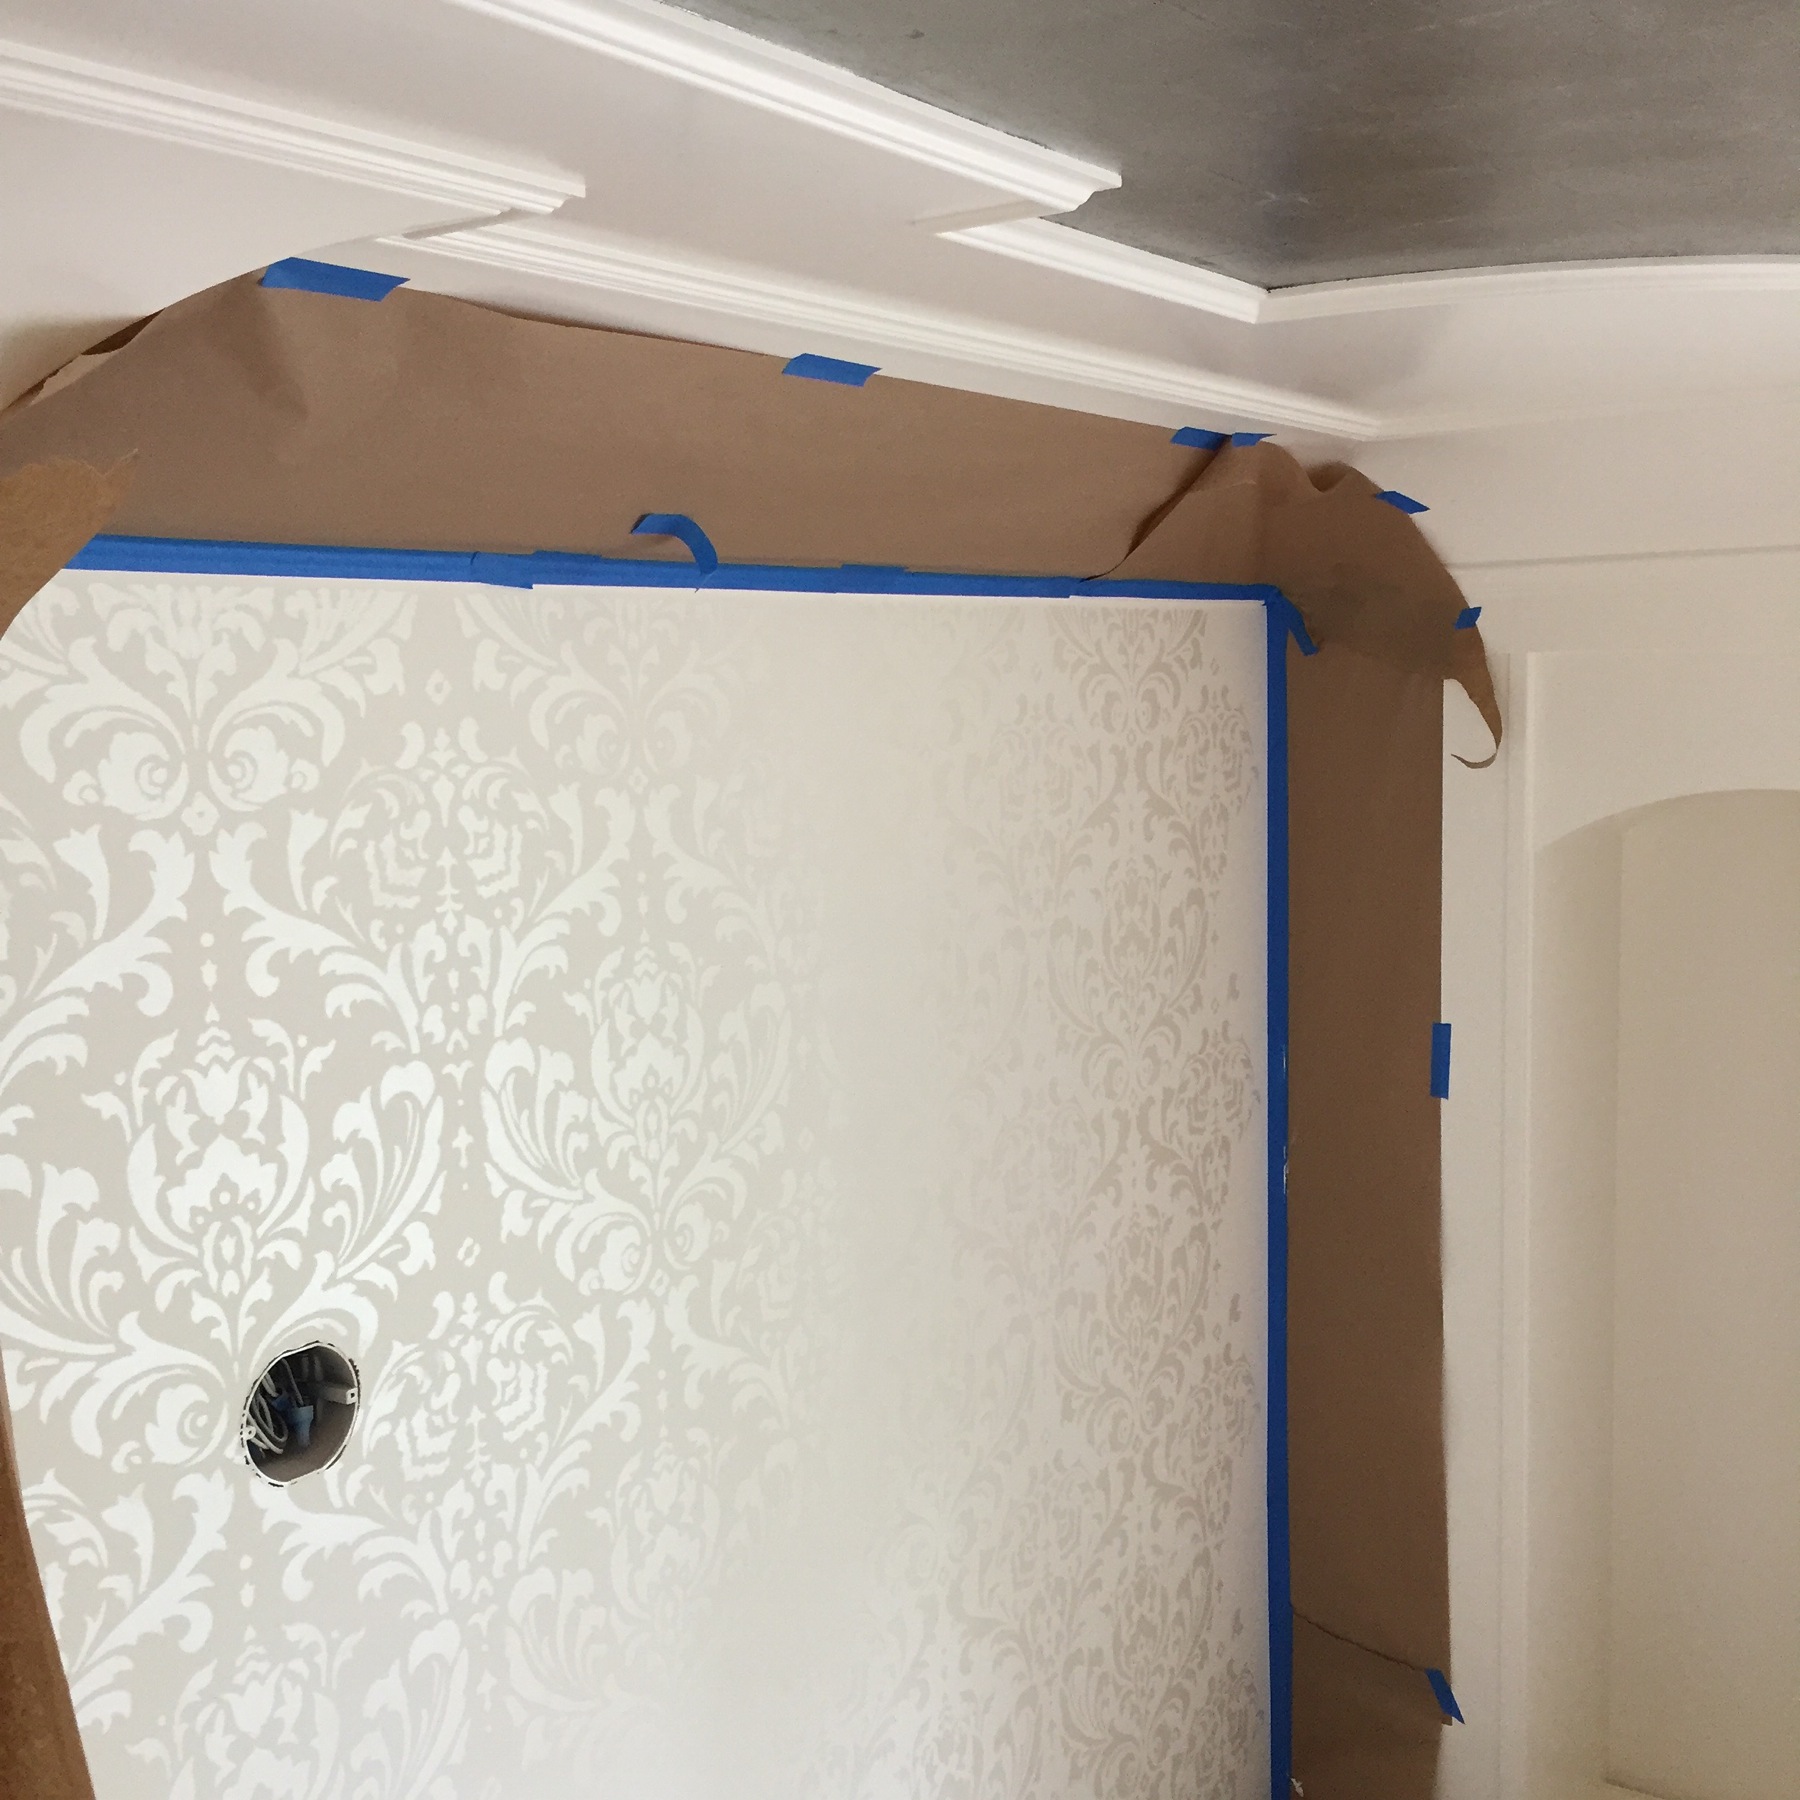
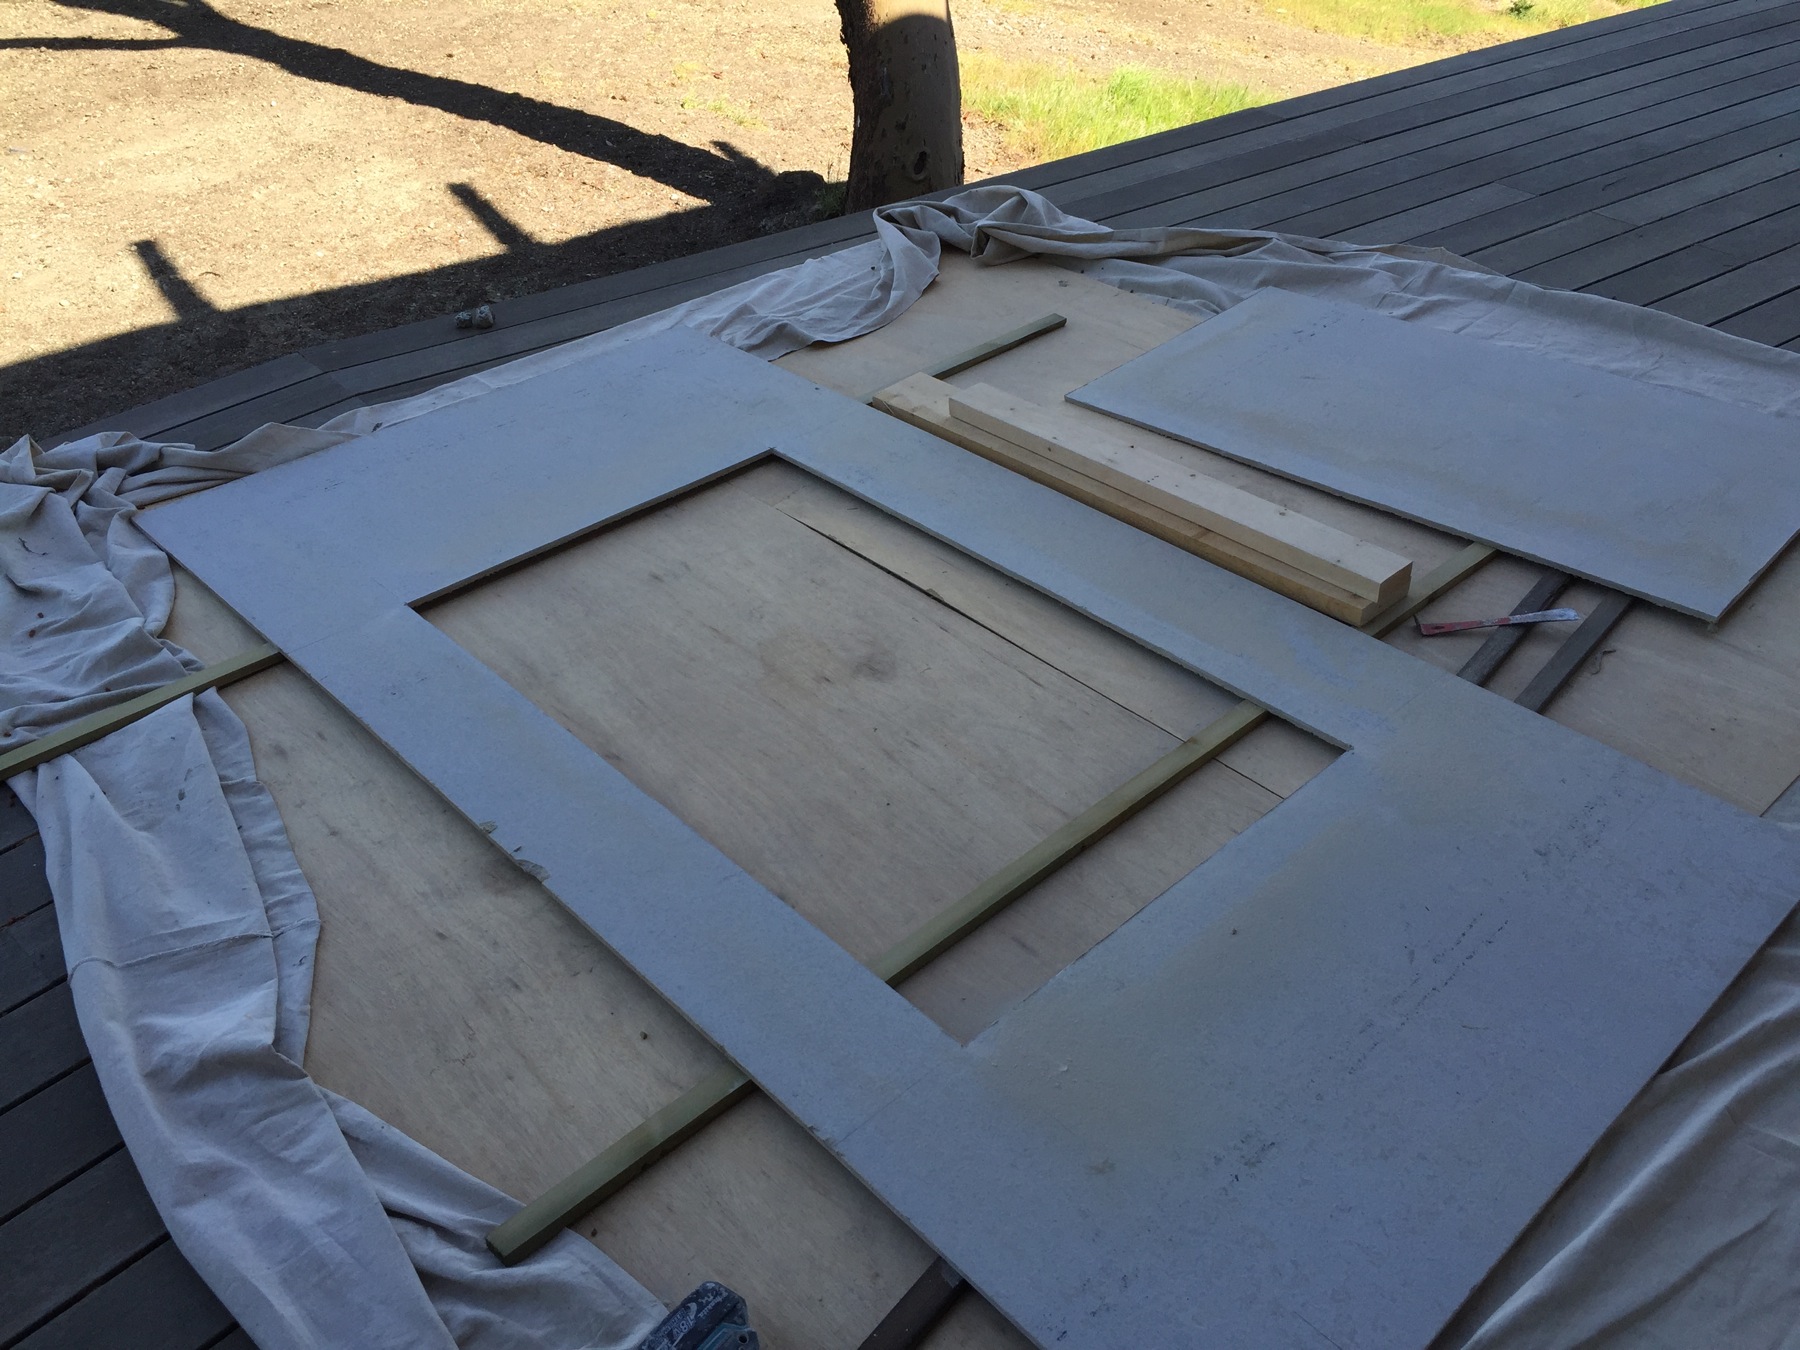
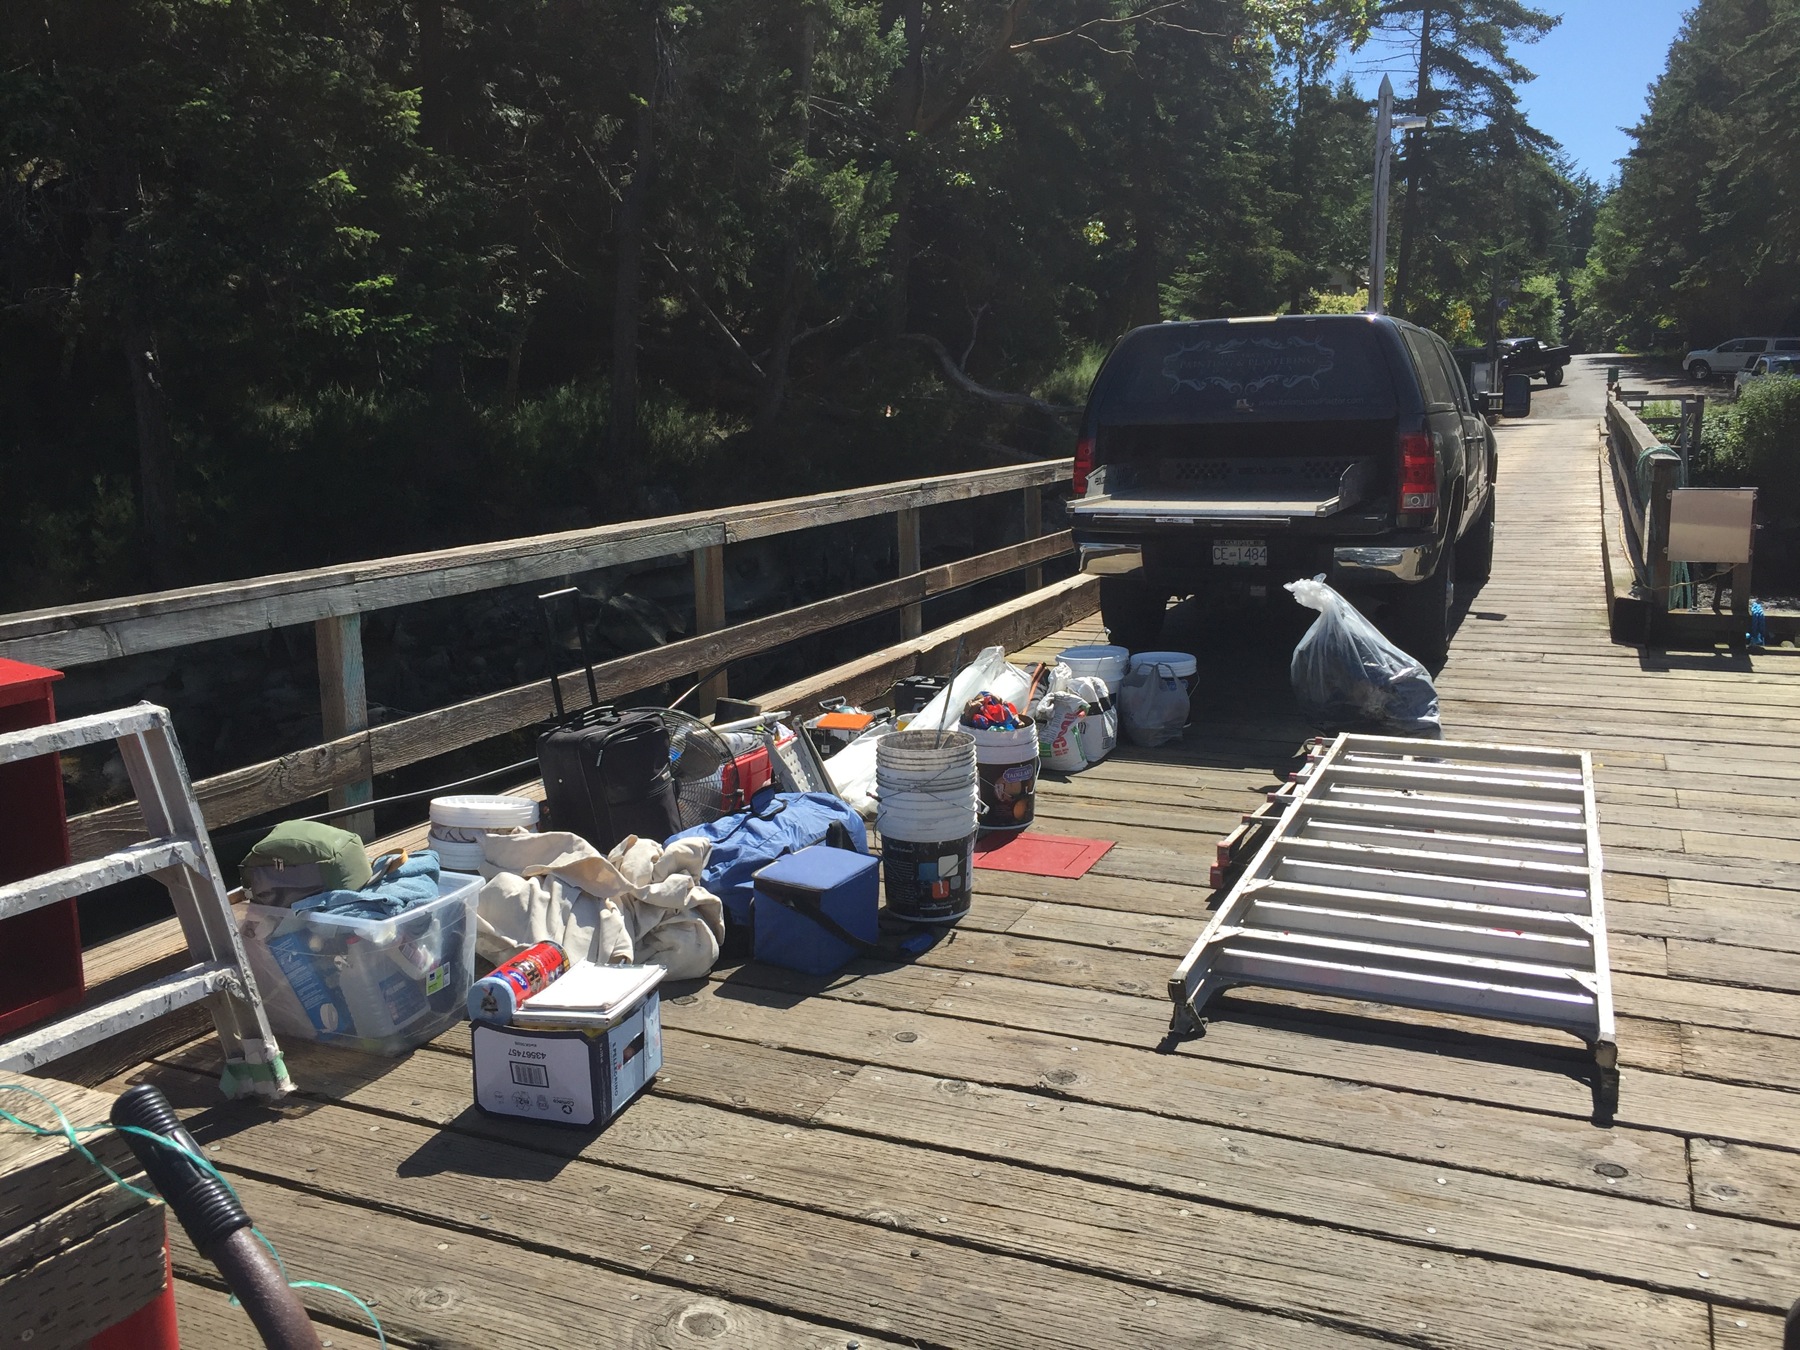
Follow along with some of the photos from the construction on the lime plaster cabinets as we worked on them.